Building Tips
Storm-Water Management: Tiers, Tanks, and Routing
Storm-water is a major scope here. It affects budget, schedule, and how we build. Not every client is ready for the level of collection and drainage a site needs, so we set expectations up front.
Know the Site
Start by mapping soil types and where rock or boulders show up. Expect over-excavation and recompaction in expansive clay, and plan for the impact on slabs, drainage, and underground tank installs. Bring geotech into the conversation early if infiltration is part of the design.
Tiering and Calculations
Calculate new and replaced impervious area (roofs, hardscape). The city and civil engineer assign a tier based on area and rainfall assumptions — the tier sets the required capture percent.
In our jobs, Tier 3 (approximately 95% capture at ~1.2”) or Tier 4 (approximately 100% capture; ~1.2” for replaced and ~2.4” for new) are typical.
Confirm the current city/tool inputs with civil/AHJ and lock them in writing before pricing tanks.
Collection Strategy
All water eventually converges on a filter and then a cistern, with overflow going to an approved dissipator or system outlet. Here’s how it gets there:
- Roofs — gutters and downspouts into a continuous rain line
- Hardscape — surface drains and trench drains where grades collect water
- Permeable areas and French drains — route to the same system or designated dissipators as designed
Piping and Slopes
Use the utility grading plan to set rims and inverts. Trench per diameter callouts and run a consistent slope — we use approximately 2% — to catch basins and dissipators.
- Bed and shade lines with washed plaster sand
- Label branches and junctions
- Photograph inverts and cover before backfill
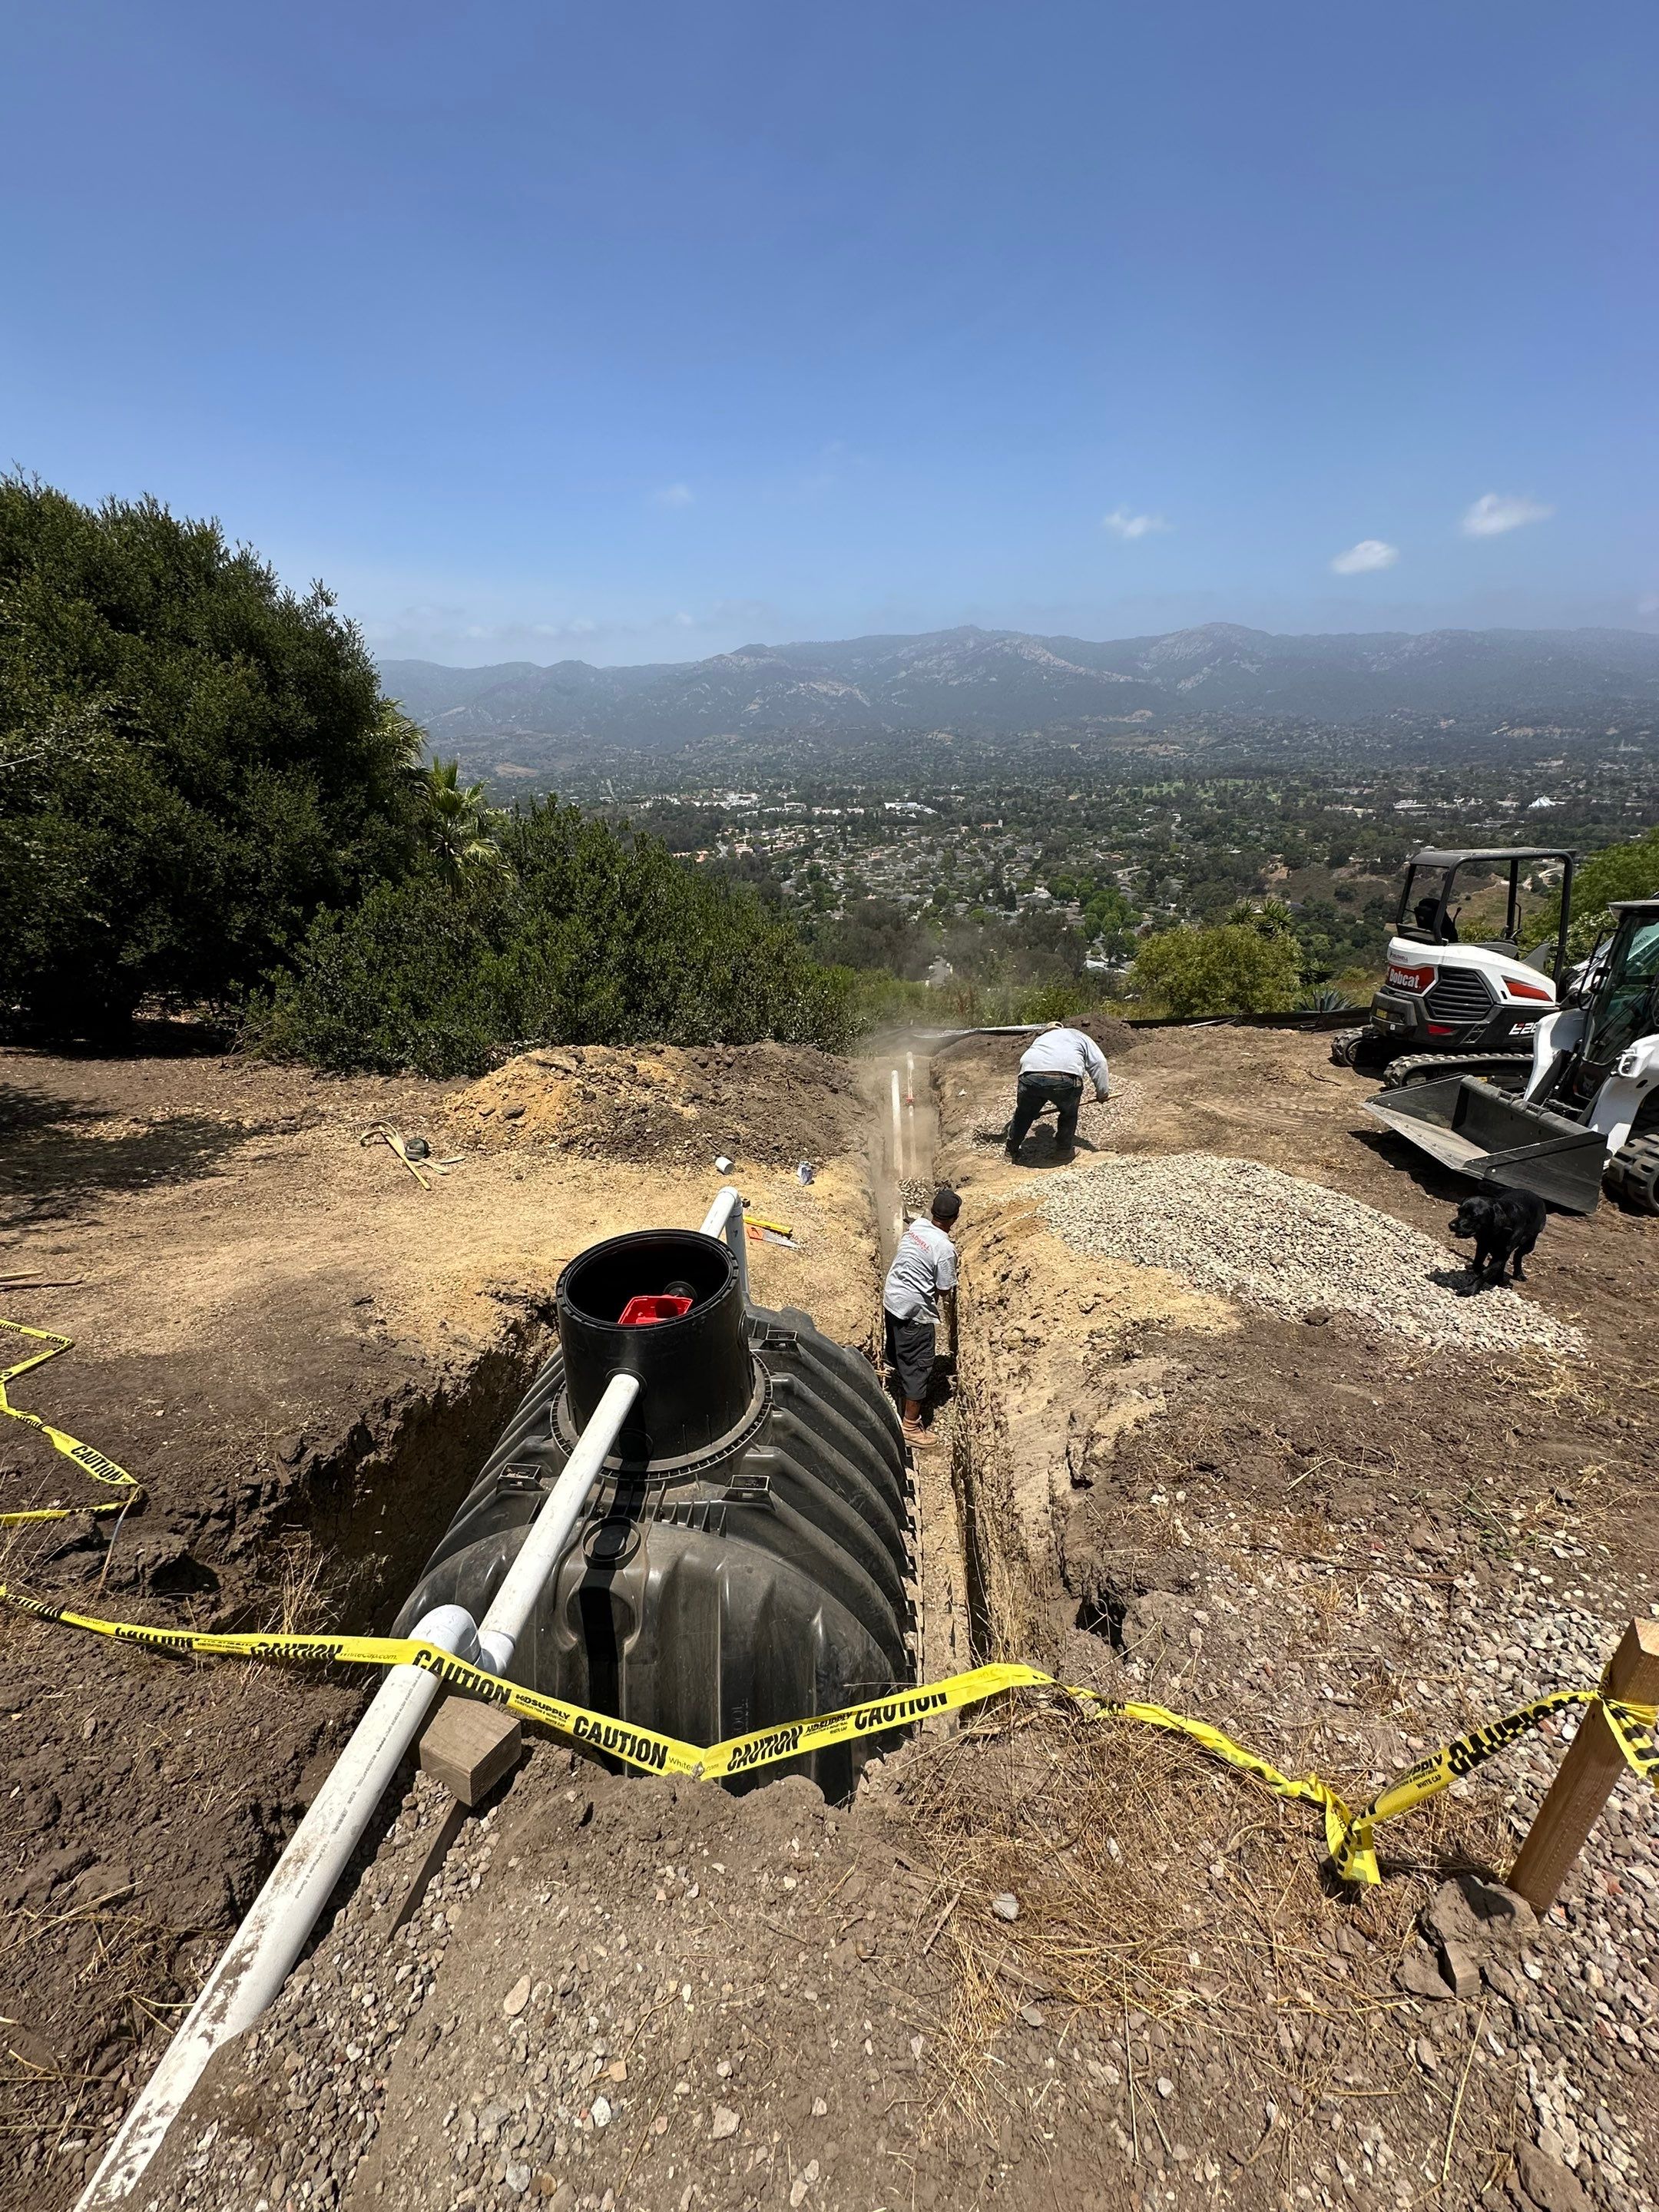
Cistern Design and Install
Excavate a vault to tank specs and clearances, then:
- Compact subgrade and lay filter fabric on the floor and up walls
- Install a French drain around the tank for groundwater relief
- Connect inlet, overflow, and manual drain — trench overflow to a rock/gravel dissipator
- Backfill with gravel, then finish with native soil
- Leave access riser/manhole flush to grade
Inspections are strict — log photos and hold points at every stage.
Pump and Irrigation Tie-In
A submersible pump sits in the tank with power run to the pump control location. We house controls in a weather-resistant, serviceable enclosure (we use a gravel-filled ground box).
The pump ties to irrigation drip through a mechanical solenoid (e.g., 1 hr/week or as programmed). Pressure change on open triggers the pump; close returns to constant and the pump shuts off. A float switch protects against dry-run when the tank is empty.
Sequencing
Coordinate with masons, finish carpenters, metal, landscape, and plaster so drains, ties, and wall penetrations land once. Keep roof and hardscape slopes honest early — drainage fixes later are expensive.
Documentation
- Takeoffs — impervious SF, tier inputs, required capture
- Measure and drone — trench lengths, elevations, volumes; tag photos
- Line list — for every drain line: source, route, destination, purpose
- Sub packet — scope, marked plans, takeoffs, photos, delivery windows
- Log — inspections, tests, elevations, and as-builts before backfill
Common Pitfalls
- Pricing tanks before tiers and rainfall assumptions are confirmed
- Missing the overflow path or landing it where it damages finishes
- Forgetting power and access for pump controls
- Inconsistent slopes — trying to “fix” ponding with larger grates instead of fixing grade
Takeaway
Storm-water is systems work: calculate the tier, size the capture, route everything to filtration and storage, and document each line’s job. When elevations and sequencing align, site drainage works.