Building Tips
Roof, Gutter, and Downspout Replacements
Here’s the reality: roofs deteriorate over time. During demolition, expect to uncover rot and wood repairs caused by leaks that may not have been visible before. A successful roof replacement depends on organization, sequencing, and attention to detail from start to finish.
Step 1: Dumpster Delivery and Site Setup
Begin by scheduling and placing dumpsters on site. For full roof replacements, 17-yard containers typically work best.
- Position dumpsters for efficient debris removal.
- Separate materials: clay tile must be disposed of differently from gutters, downspouts, underlayment, and sheet metal.
Proper setup saves time and labor during demolition.
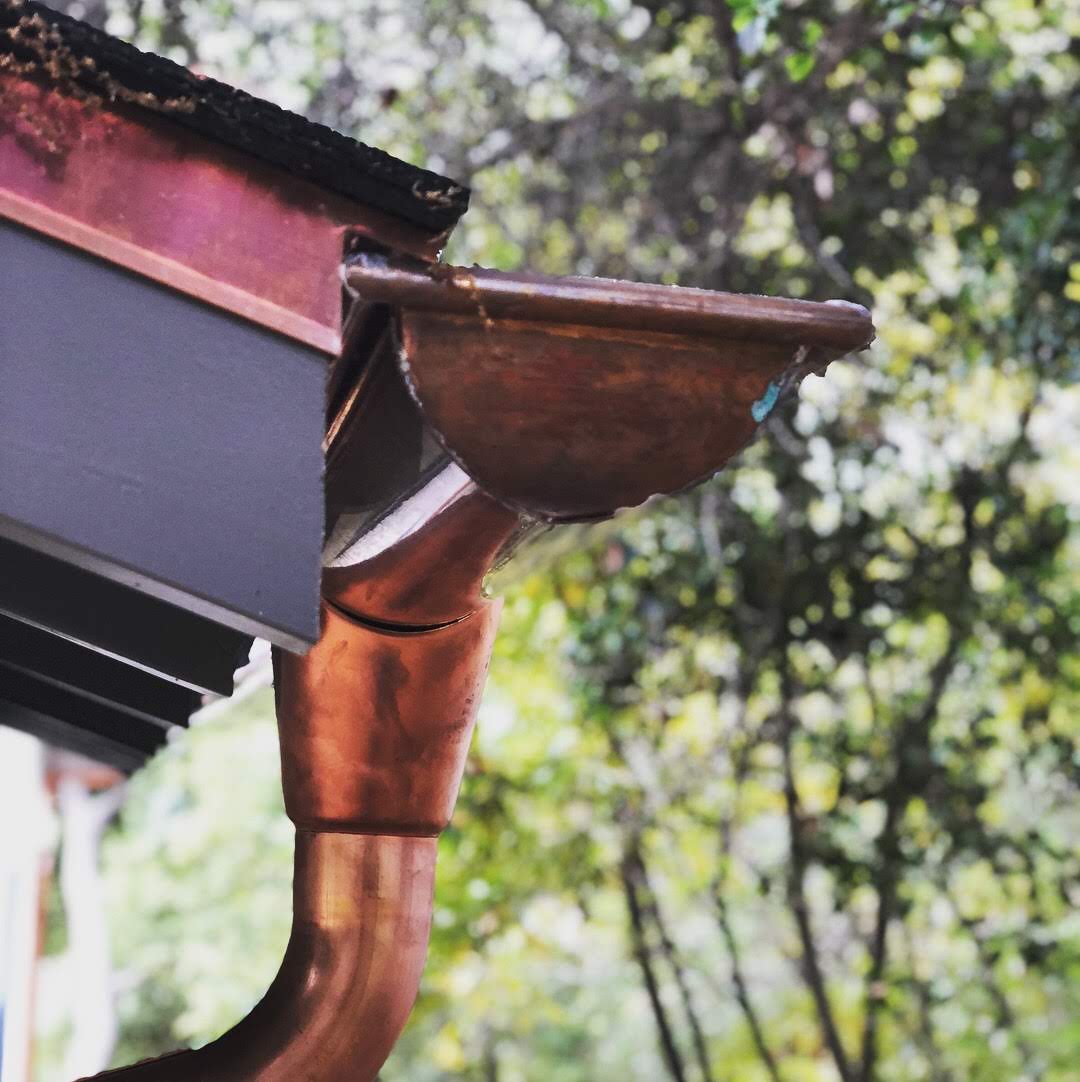
Step 2: Gutter and Downspout Removal
Remove all gutters before roof work begins.
- If gutters are nailed directly to the fascia, use a crowbar and hammer for leverage.
- If mounted with roof hooks, pry bars work well for release.
- Cut gutters into manageable sections to optimize dumpster space.
Dispose of metals separately from roofing materials.
Step 3: Tile Removal
For clay tile roofs, tiles are often tied with wire fastened to the underlayment. Use wire cutters to separate them efficiently. Remove tiles in smaller sections to minimize debris and prevent damage to roof framing.
As you work, clear dirt, nails, and broken pieces using a broom and shovel. A two-person crew can stay productive by rotating: one removes tiles while the other clears debris and cleans the roof deck.
Step 4: Removing Underlayment and Flashing
Once the tile is gone, scrape off the two layers of underlayment:
- Base sheet (installed first)
- Cap sheet (installed over flashing and wire ties)
You will uncover sheet metal flashings and W valleys along the way. Remove these carefully and dispose of sheet metal separately from tile waste.
Step 5: Inspect for Damage and Perform Repairs
With the roof deck exposed and broom-swept, inspect for:
- Water damage
- Dry rot
- Failing sheathing or framing
Repair by reframing and resheathing as needed. This is the time to add insulation or improve ventilation before waterproofing.
Step 6: Weatherproofing and Drip Edge Installation
After framing repairs:
- Install Tyvek wrap or peel-and-stick waterproofing membrane.
- Add drip metal on top.
- Ensure nailed drip metal is isolated from roof sheathing to prevent moisture transfer and rot.
If using pressure-treated fascia, install the underlayment first and then nail the drip metal over it. Apply cap sheet next, followed by sheet metal flashings, W valleys, roof penetrations, and fireplace flashings. Cap sheets at W valleys should overlap the edges for continuous waterproof protection.
Step 7: Load the Roof and Install Clay Tile
Once the waterproofing and flashings are complete:
- Nail tie wires to the new cap sheet.
- Load the clay tile onto the roof and let it sit for several days. This allows the house to settle under the tile’s weight before final installation.
- During this settling period, install windows, doors, and gutter hangers if applicable.
When ready, pre-soak the clay tiles with water. This improves mortar adhesion as the tile dries and prevents premature moisture absorption.
After soaking, begin setting tiles:
- Blend colors and confirm layout with the owner.
- Tie each tile to the wire system.
- Apply mortar between layers to secure tiles and create a weatherproof finish.
Step 8: Final Inspection and Cleanup
Once installation is complete:
- Verify all flashings, gutters, and downspouts are installed and aligned.
- Check drainage slopes and test downspouts for proper flow.
- Sweep and clean the roof surface and surrounding job site.
A proper roof replacement protects the structure, enhances curb appeal, and extends the life of the home for decades.