Process
How a driveway cut actually works
A homeowner watching their driveway get cut will feel overwhelmed. The hole looks too deep, the footprint looks too wide, and they’re going to ask if we’re sure that’s where the driveway is supposed to go. We are - and the survey stakes prove it. A driveway cut is the pivotal first step to getting the finished product right, and there’s more engineering under the surface than most people realize. The plan calls out every layer - subgrade, compacted backfill, road base, concrete, decorative finish - each with a calculated thickness that ties back to the elevation data on those stakes.
1. Survey and Layout
Before anything gets dug, the surveyor sets stakes across the site. Each stake is a field translation of the civil engineer’s grading plan - a reference point the crew reads to establish exactly where and how deep to cut.
A typical stake reads something like: 1150, 3’ to EP, F .65 TP. Here’s what that means:
- 1150 - the stake ID, correlated to a numbered point on the survey site plan
- 3’ to EP - three feet to the endpoint. Survey stakes don’t mark the exact reference point - they’re offset so the stake stays intact through construction. The site plan shows an arrow indicating which direction the endpoint is and how far
- F .65 TP - Fill .65 feet to top of pavement. An “F” means fill up to reach finished grade; a “C” means cut down to it. This stake needs .65 feet of fill above the darted location to hit the finished driveway surface
From a series of endpoints, we take field measurements, set nails, and run string lines to create the exact driveway location. We spray paint the string line - that’s the finished driveway footprint on the ground.
The real math happens when we work backward from that top-of-pavement elevation to find subgrade. The plan cut section calls out every layer: 12” compacted dirt, 6” compacted road base, 5” concrete - 23” total buildup. So at this stake, we go to the dart, move up .65 feet (roughly 7-13/16”), then subtract the 23” cut section. That puts subgrade at 15-3/16” below the darted stake location. We build up from there to hit finished grade.
In this case, the soils engineer required 3’ of over-excavation on both sides of the driveway for structural subgrade support - which means we excavate right up to the stake itself. Our excavation sub is skilled enough to get within inches of the stake without pulling it.
2. Laser and Elevation Checks
Before the excavator starts cutting, we verify the survey darts with a rotary laser level. The laser spins a beam at a fixed plane, and a receiver mounted on a rod picks it up. We set the laser in relation to the survey stake benchmark - now we have a consistent reference we can carry anywhere on site.
The receiver beeps when the rod hits the target elevation. One end of the rod sits on the ground being excavated, the receiver is set higher up to capture the laser. We move around the excavation area and the beeping tells us where we’re at subgrade and where we still need to dig. For areas close to the darts, we use tape measures instead - it’s faster to measure straight down from the dart to existing subgrade and extrapolate how much material still needs to come out.
On this job, the laser also helped us work around existing underground conduit. We knew the general location of an electrical run, so we hand-dug to locate it, then used the laser and receiver to establish how deep the conduit sat relative to the survey dart. That measurement gave the excavation contractor a depth threshold - dig aggressively above it, slow down and work carefully as he approached it. Without that reference, one aggressive bucket could cut through a live electrical line.
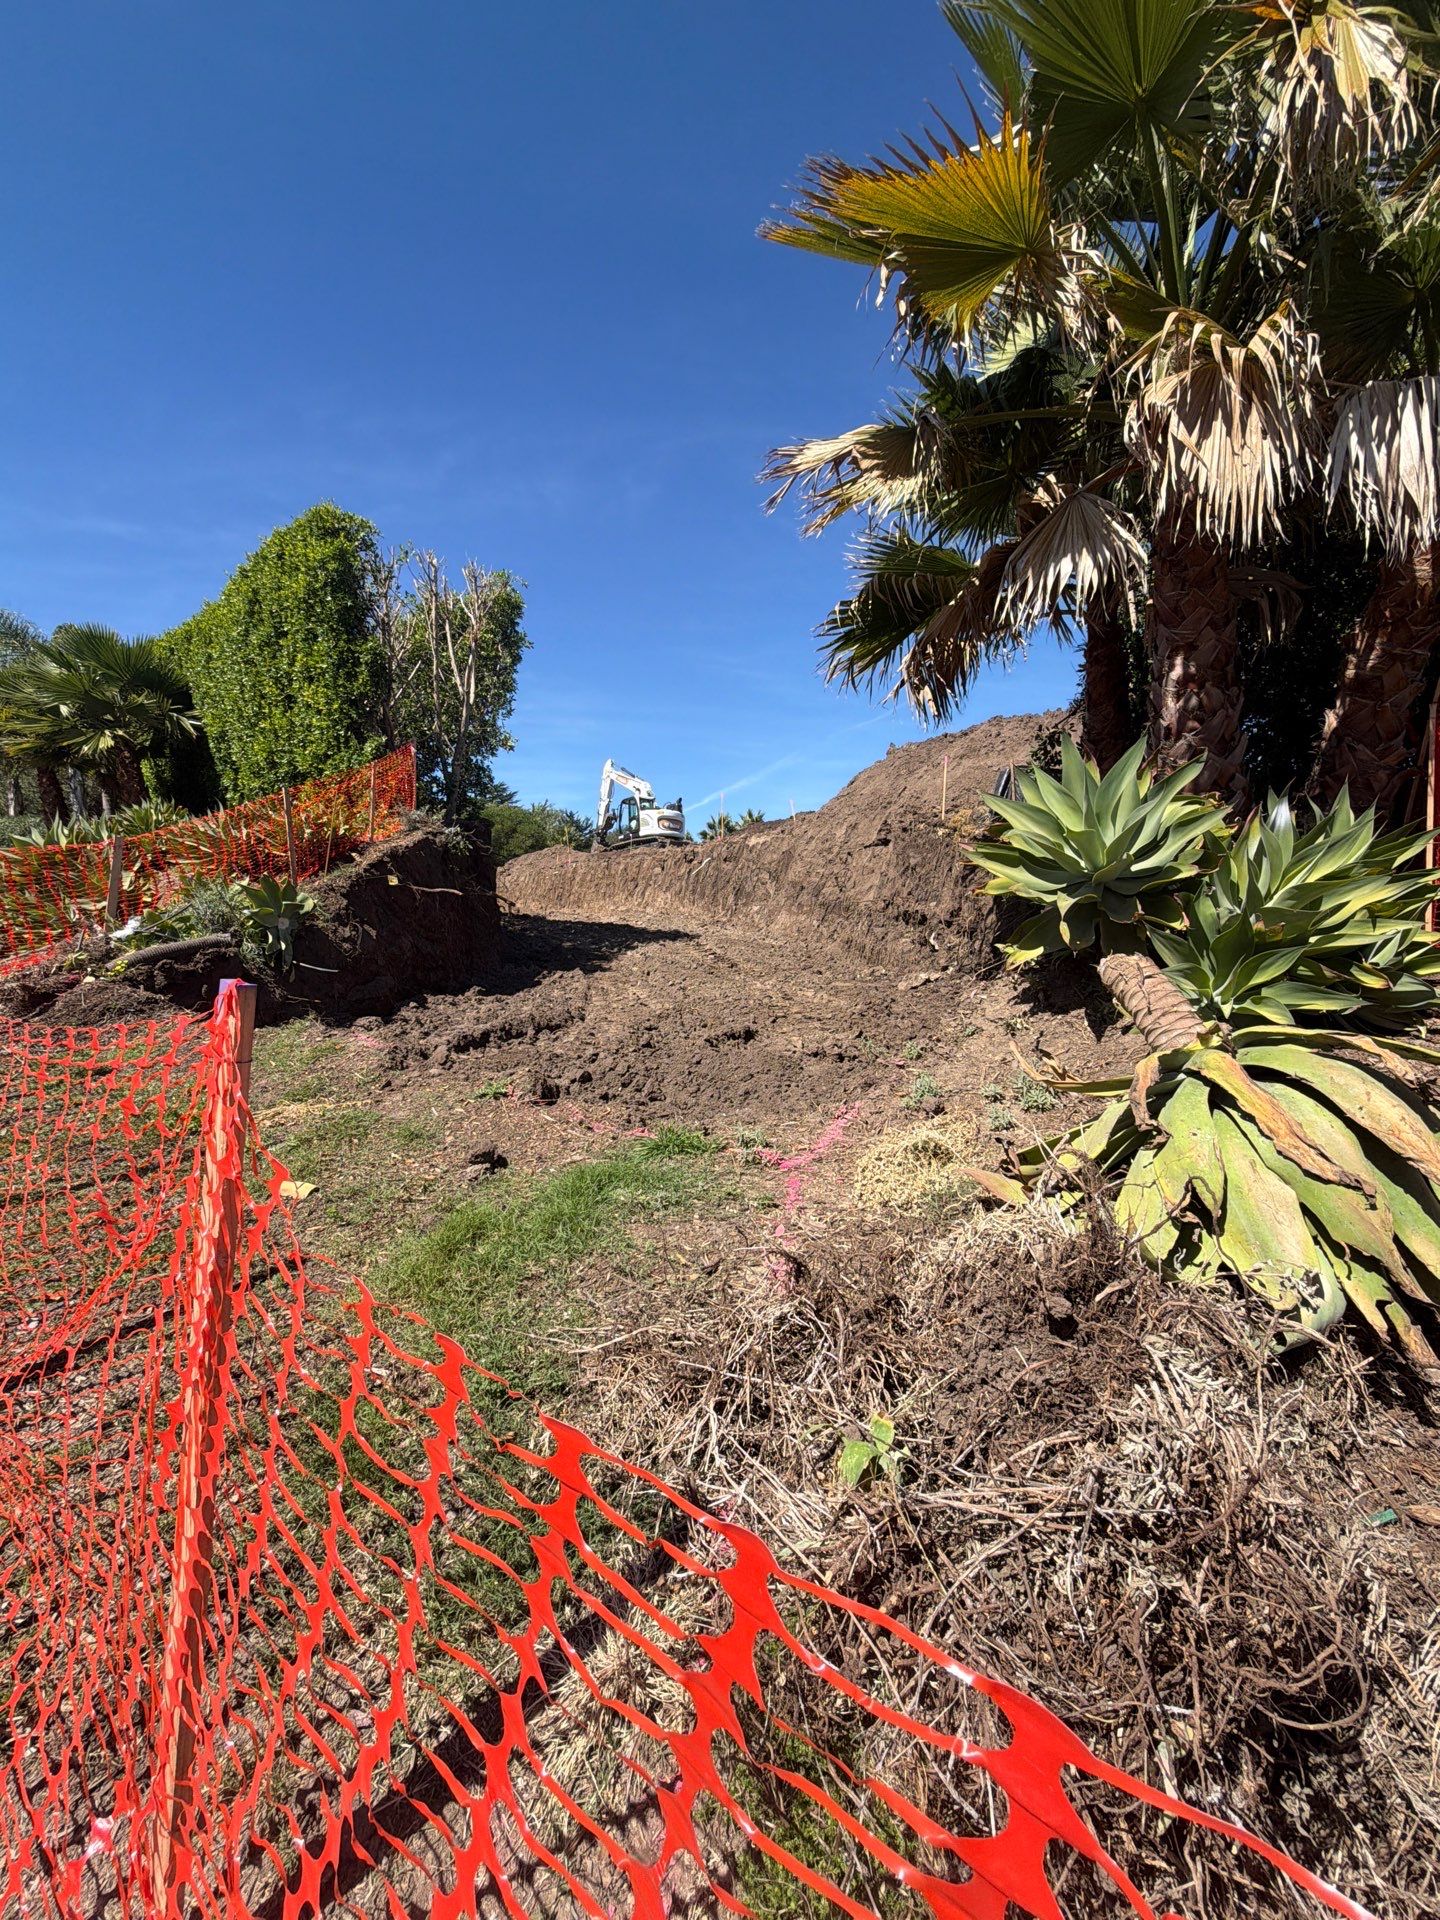
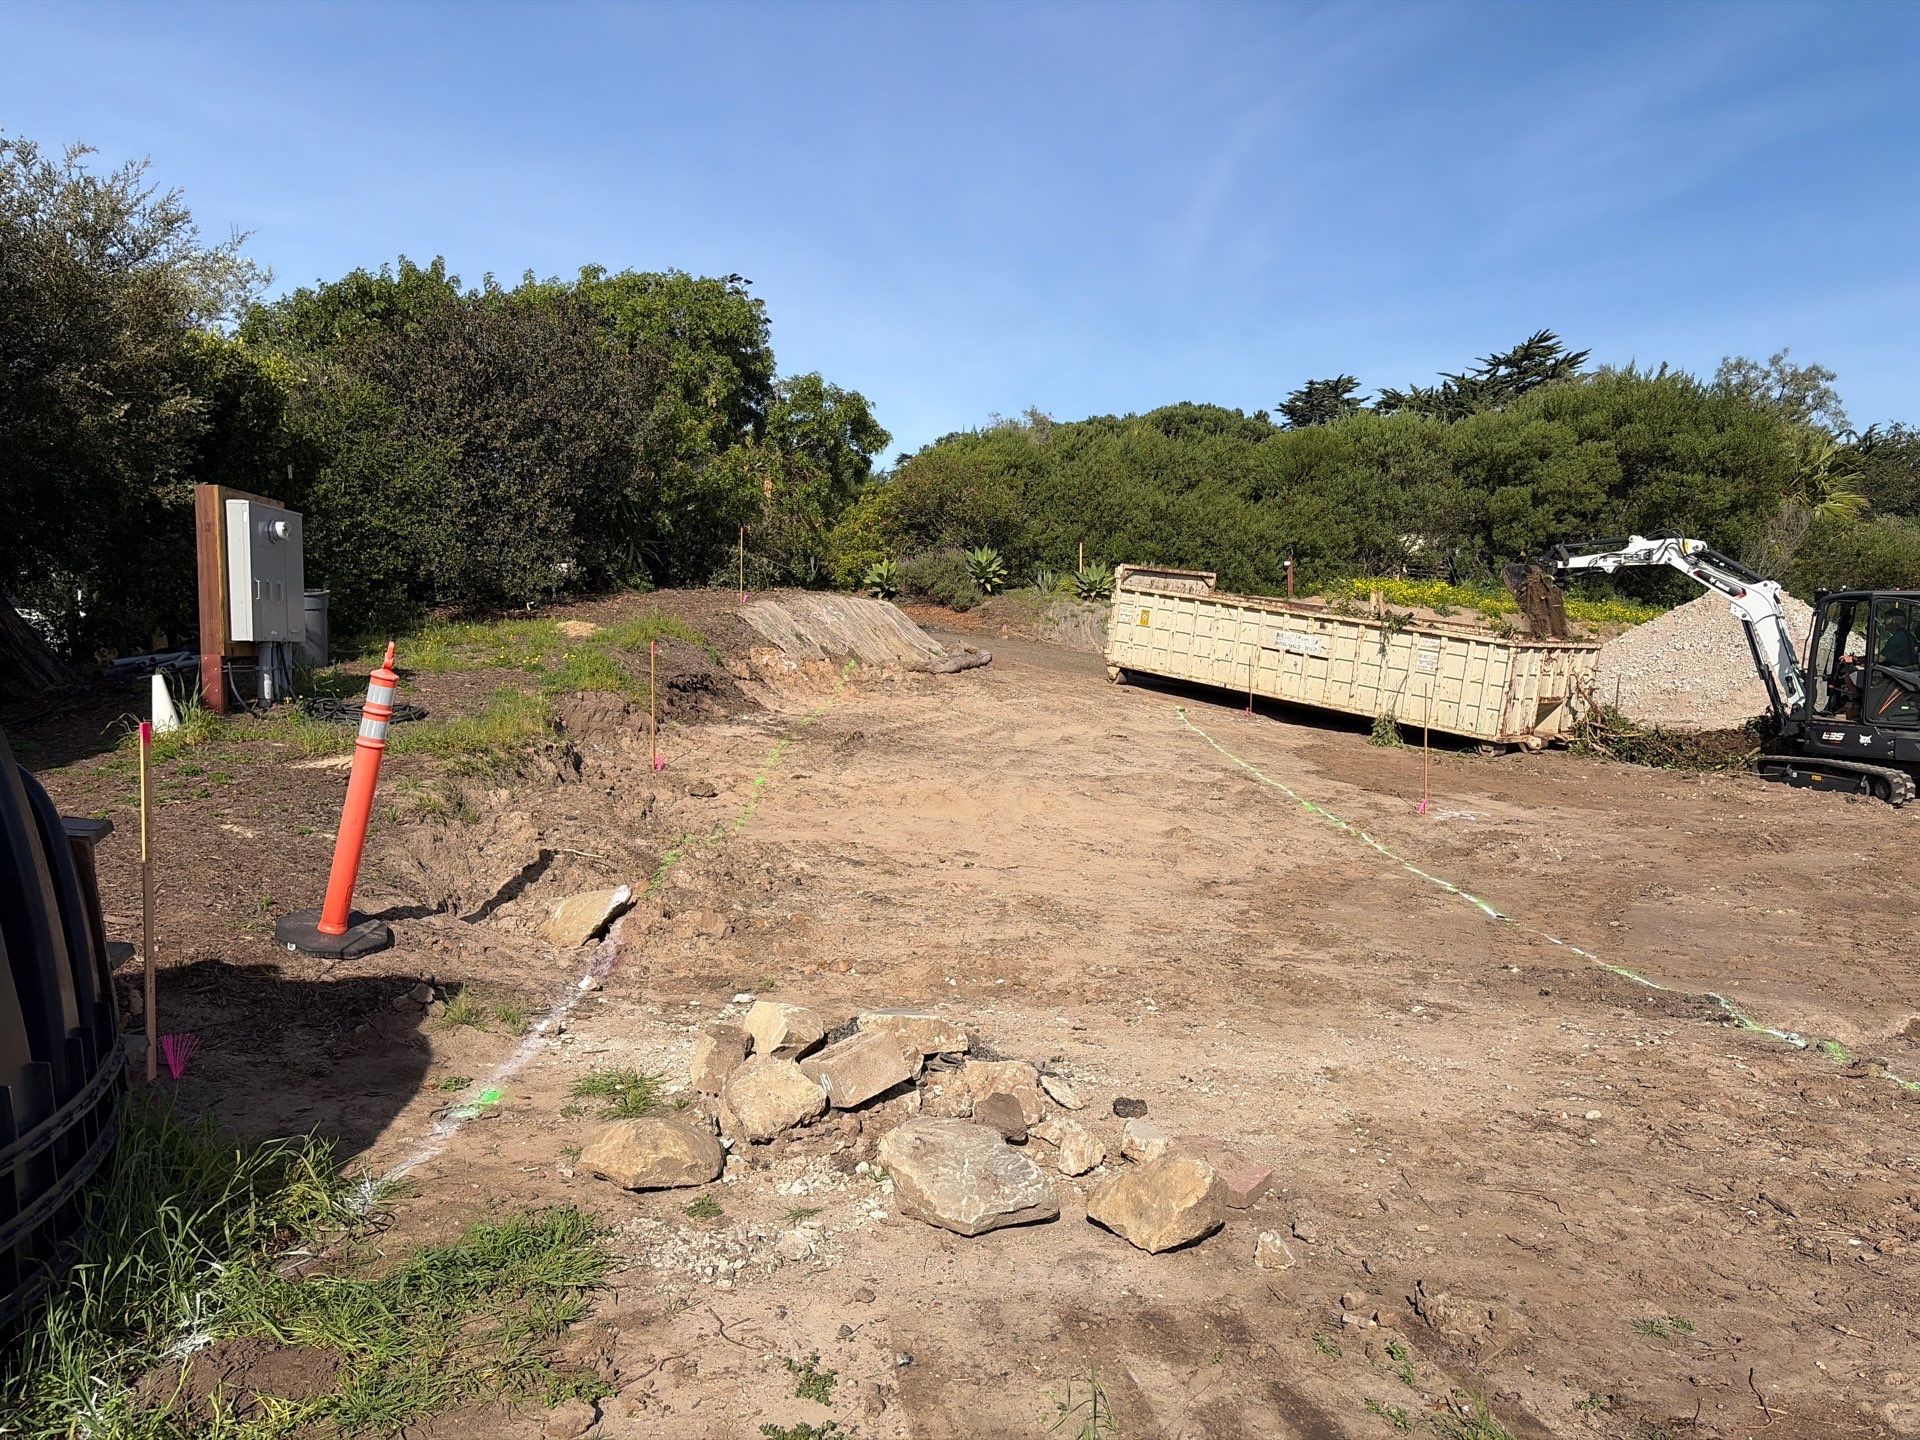
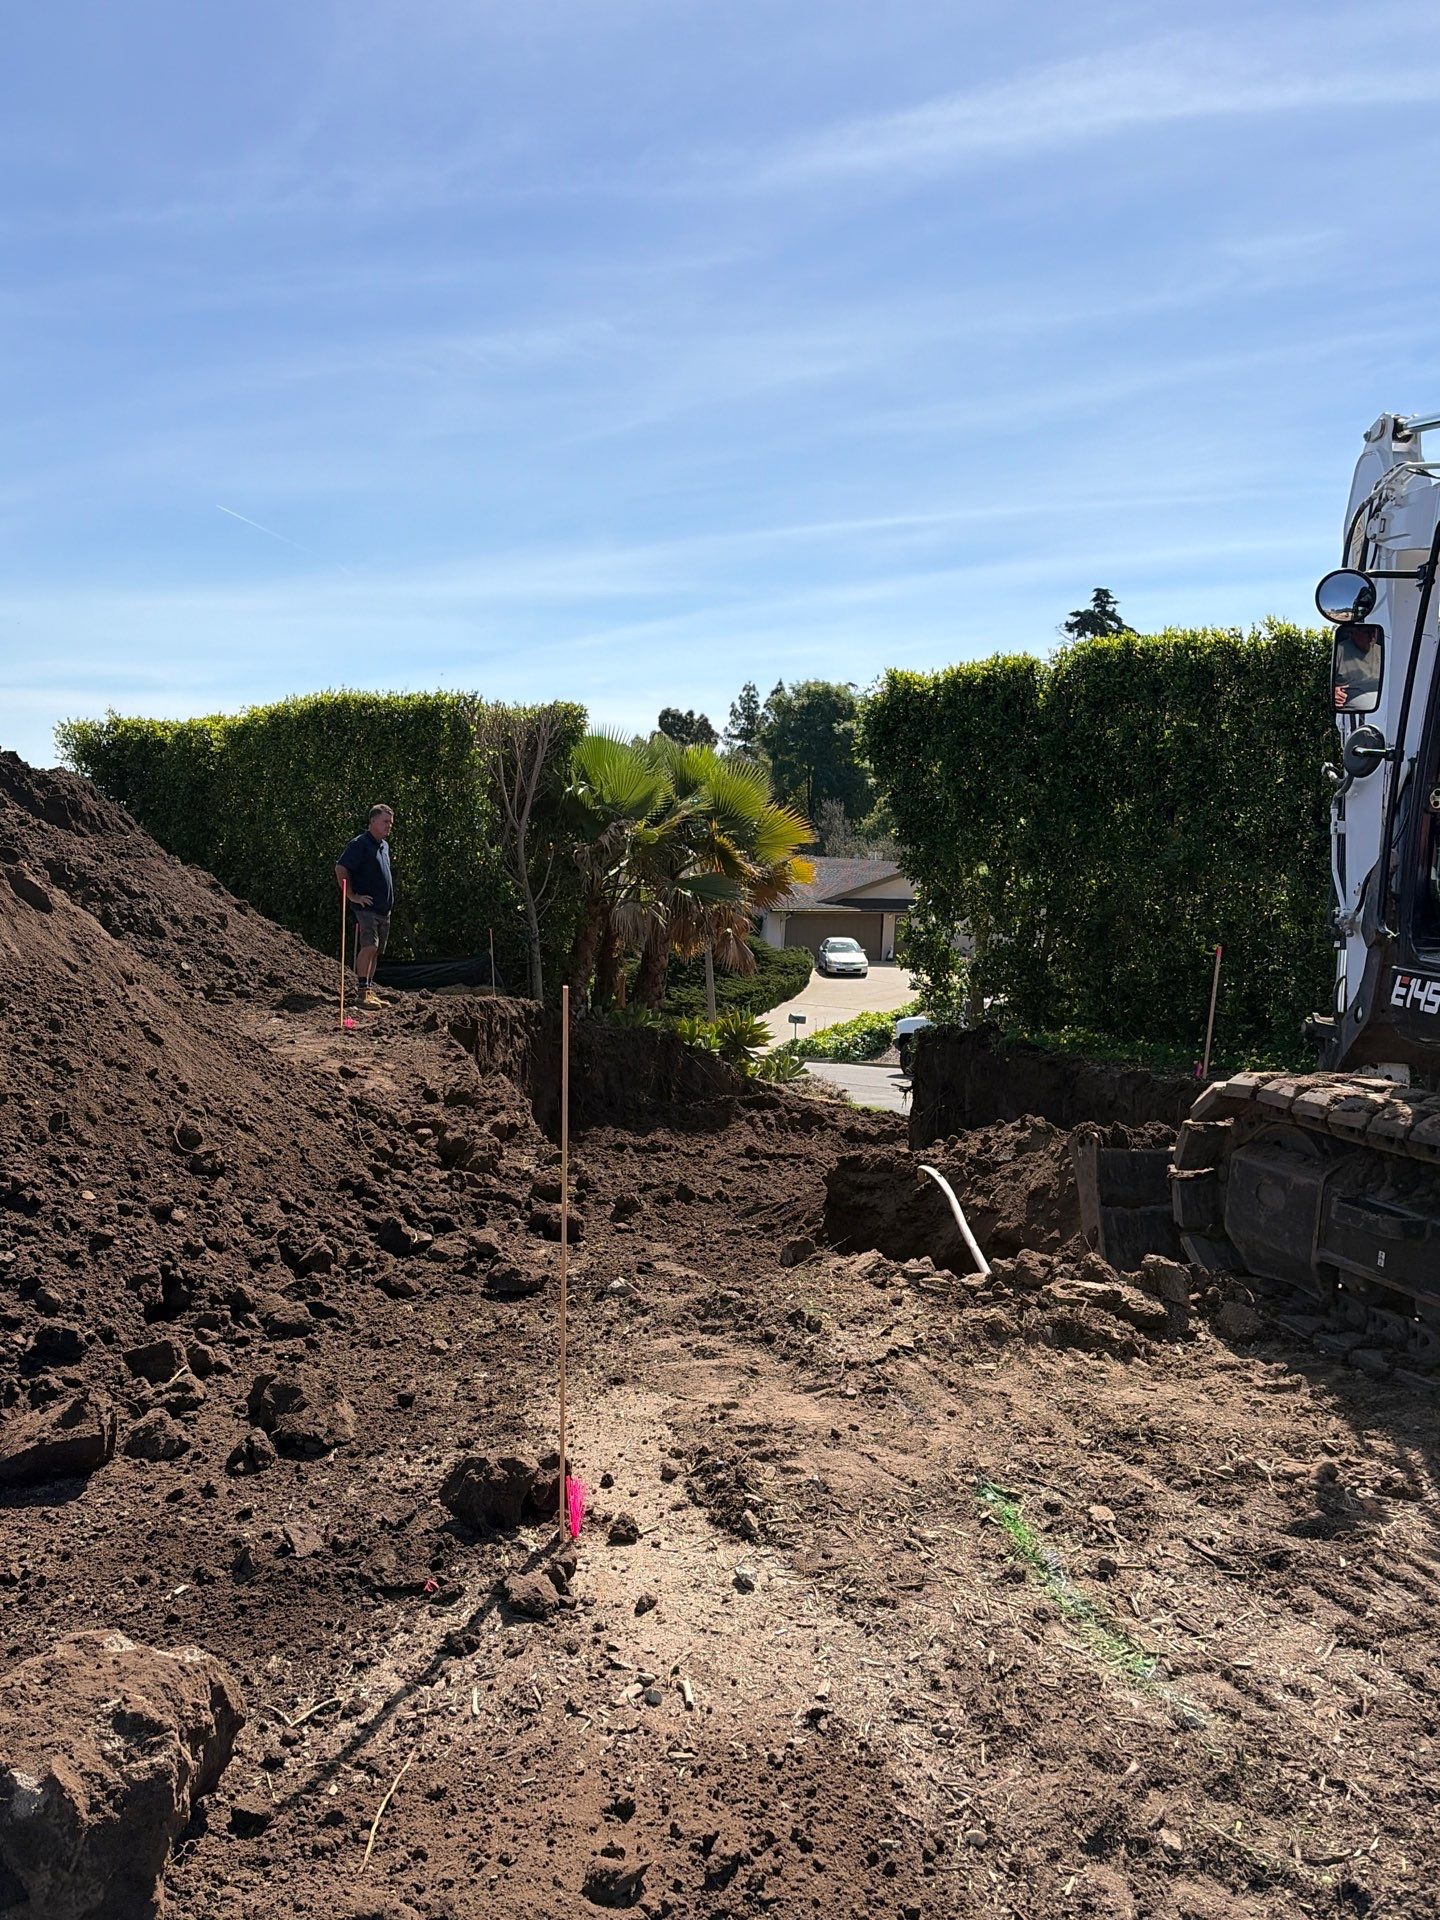
3. Excavation
The E145 excavator works through the driveway cut methodically - cutting subgrade and placing the excavated material in a staging area close to the work but out of the way. The cut isn’t uniform depth. Finish grade varies across the driveway, so the operator is referencing the stakes and laser to hit different depths at different points.
While the excavator cuts, a ground crew member works the dirt pile - sifting through to pull out trash, debris, and old landscaping material. As the pile builds, the excavator operator cycles back to mix and turn the dirt. This serves two purposes: blending the material into a consistent mix and airing it out to dry. Dirt that’s too wet won’t compact properly later. The crew repeats this cycle - cut, stage, clean, mix, dry - across the full driveway over the course of the excavation.
The ground guy also acts as the eyes for the excavator around sensitive areas. Since we installed the utilities on this project, we know exactly what’s in the ground and at what depths. We used 12” of yellow sand along with electrical warning tape to mark electrical runs - you’ll see the tape and sand long before you’re anywhere near the conduit. Still essential to go slow and pay attention as you dig, and the ground crew member is watching every bucket near known utilities.
4. What You Find Underground
We demolished the existing house on this property, and with demolition comes buried infrastructure. Utilities get mapped, disconnected, and removed - but old drain lines, landscaping irrigation, and debris from previous builds have no documentation. There’s no way of knowing they’re there until the excavator hits them.
In this case, we dug up an old drain line from the original property. It broke during excavation, started percolating, and released water into the subgrade. We couldn’t just remove the pipe and keep going. We excavated well below the drain line to dig out any water collecting in the area, backfilled with gravel and dirt, then returned to cutting for subgrade. Leaving standing water or a compromised drain under a new driveway creates an erosion path - the subgrade washes out over time, and the finished surface settles and cracks.
We hold ourselves accountable to the quality of the build from start to finish. Uncovering issues is part of the remodeling and build process, and we take pride in repairing what we find rather than building over problems we know will degrade the property over time.
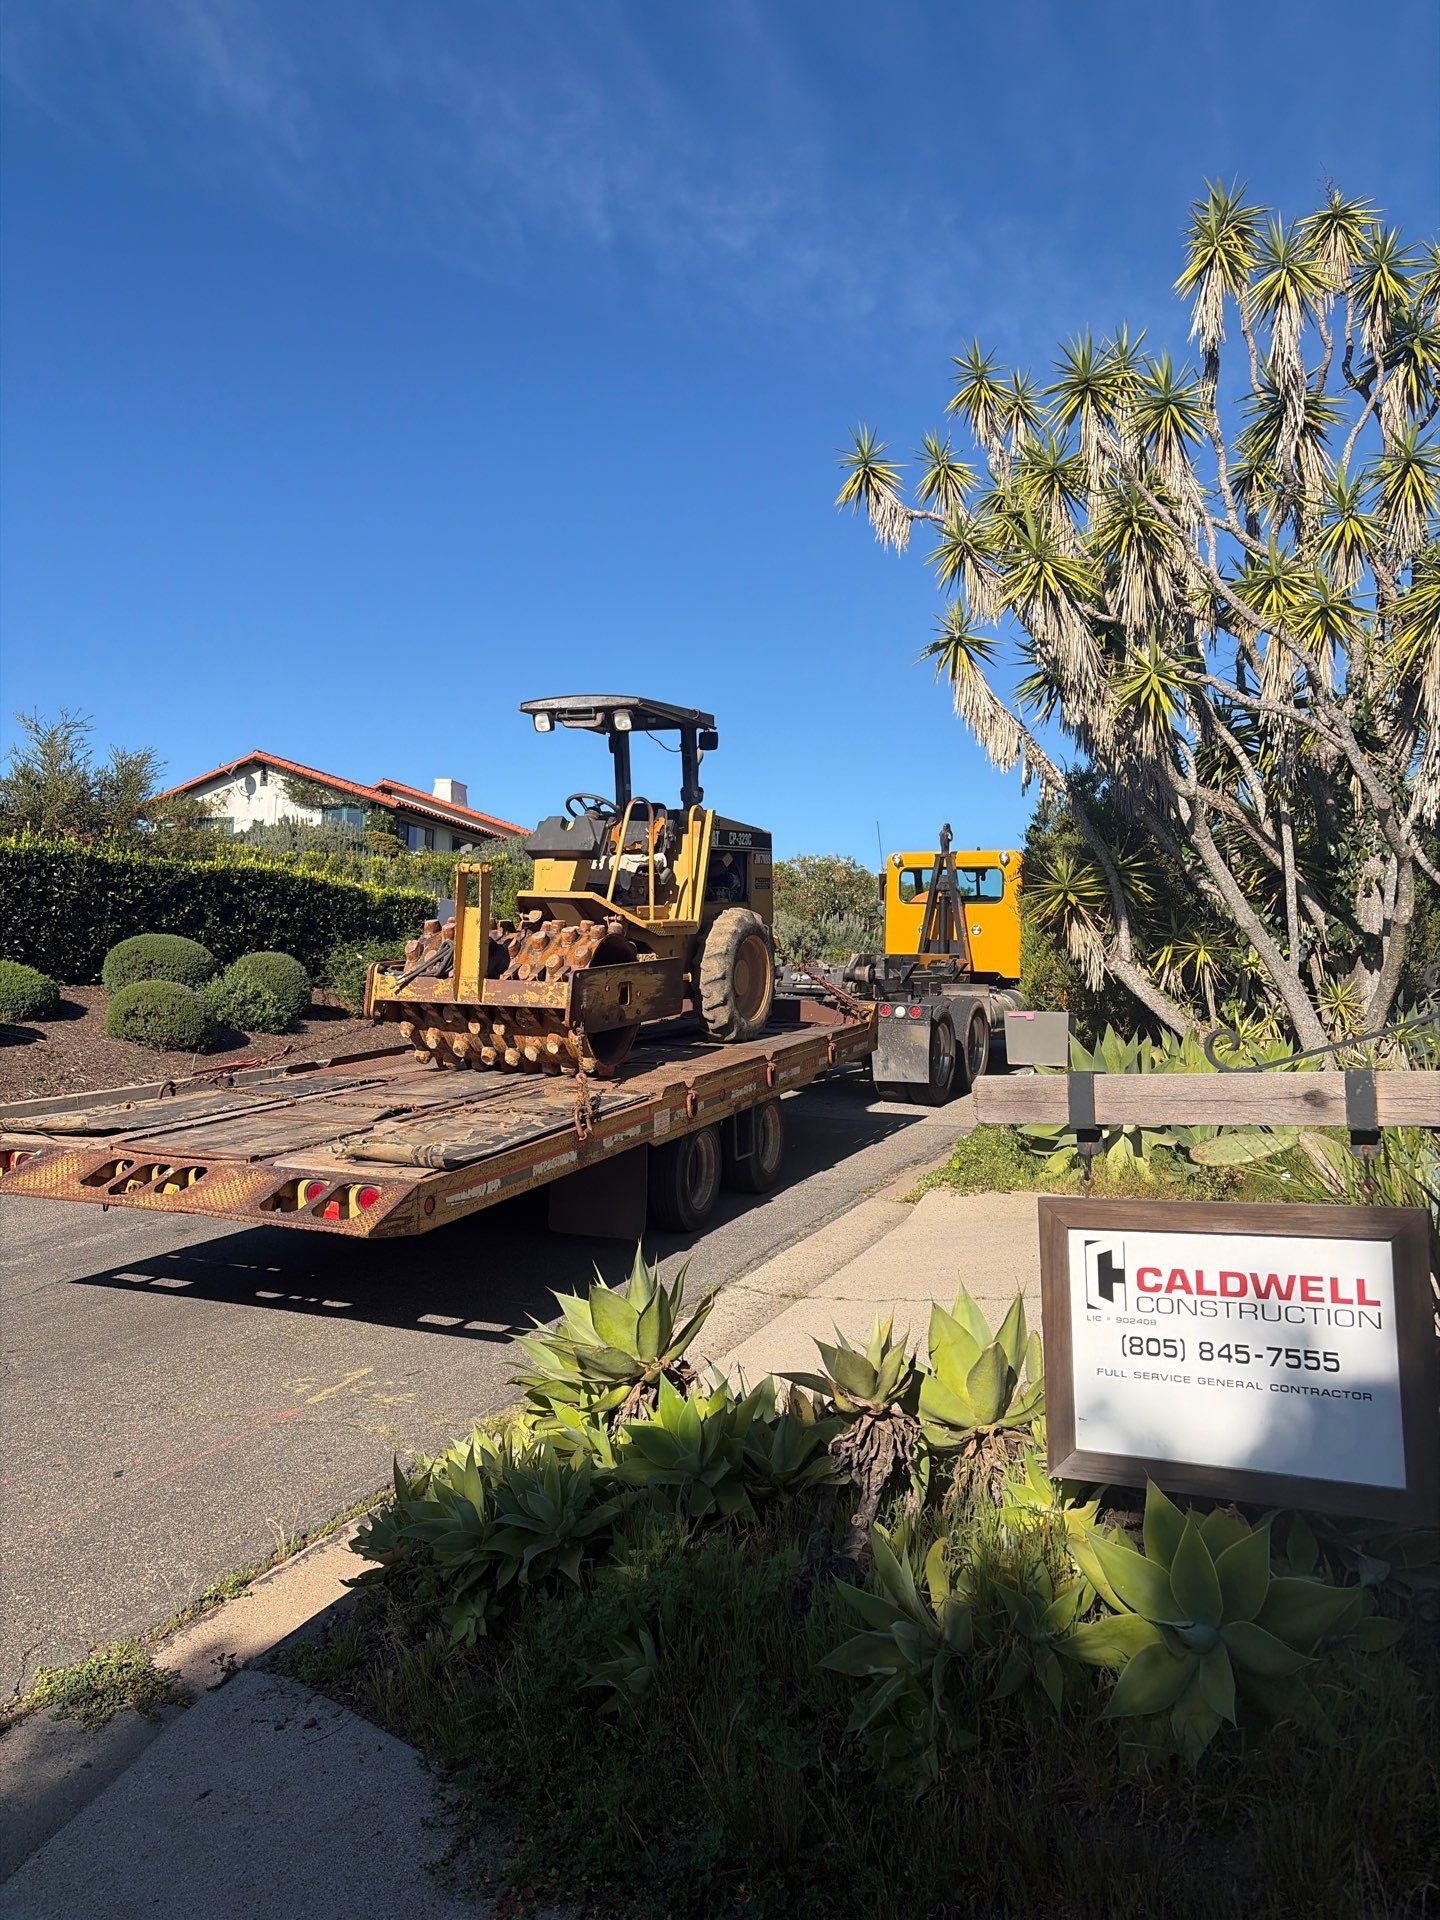
5. Compaction and Prep
Once excavation is complete, we need to verify the cut and build back up to the base material elevation - and that starts with the soils engineer. He verifies the quality of soil at subgrade and confirms we cut the driveway to his specification, including the 3’ over-excavation on both sides.
Compaction happens in 6” lifts. We measure 12” above subgrade, run a string line with nails, and spray paint the fill line. Two machines work together - the E145 adds material into the cut and a skid steer spreads it. Once we fill the first 6”, a heavy vibrating roller compacts the dirt by driving over it. We repeat the process - fill 6”, compact, fill 6”, compact - until we reach 12” of compacted material at the base cut section elevation.
Then the soils engineer returns with a density probe. He runs it into the compacted ground and measures the soil density against a compaction curve established from a lab test of the same soil we used to fill the cut. The lab curve sets the maximum dry density - the probe reading is compared against it to output a percentage. We need 95% relative compaction to pass. Once he signs off, we move to ordering road base.
That’s where Moasure comes in. The tool links to my phone as I walk the excavated perimeter - as fast as I can walk it, I get a full 3D map showing accurate square footage, side lengths, curves, arcs, widths at varying points, and depths. All x, y, z coordinates. I take the square footage, multiply by the required fill depth from the cut section (5” of Class 2 road base plus 3” for compaction), and convert from cubic feet to cubic yards. Within 10 minutes I have an exact quantity of base needed for the job. From there it’s a phone call - ask the supplier how many yards come in a truck, divide to get the number of loads, and order. Material gets priced per truck, so knowing the truck capacity determines the cost.
Key Takeaways
- Survey stakes are the blueprint - every cut depth and layout decision traces back to the data on those stakes
- Laser levels verify the stakes and give the crew a movable reference across the entire excavation
- Excavation is a cycle - cut, stage, clean, mix, dry - not a single pass with a machine
- The ground crew monitors every bucket near known utilities, even when you installed them yourself
- Demolition sites always have buried surprises - deal with them now or pay for them later in the finished surface
- Compaction happens in lifts, not all at once, and a soils engineer verifies the result with a lab-tested density curve
- Moasure turns a 10-minute walk into an exact material order - square footage, fill depth, cubic yards, number of trucks