Building Tips
Gas Line Utilities: Meter, Underground Piping, and Sequence
Working with the city and the gas utility to set a new meter has moving parts. Here’s how we run it.
Load and Pressure Plan
Start with a BTU calculation — list every gas appliance (water heater, HVAC/furnace, generator, fireplace, dryer, range, etc.) and add total connected load.
Your utility planner will recommend either standard delivery (~0.33 psig) or a 2 psig program for long runs and big loads. Pressure choice drives pipe size and where you place line regulators downstream.
Meter Location
Utility rules come first. The meter should be exterior, accessible, and ventilated. Interior meter rooms are special-case and must meet ventilation and access requirements.
Clearances (SoCalGas example):
- Keep riser/meter piping 36” horizontally and 10’ vertically from sources of ignition, electrical equipment, and fresh-air vents
- Provide a 48” x 36” clear work area
- Protect meters from vehicular damage with bollards where needed
- Don’t hide meters behind locked gates without utility access
If you’re near a driveway, protect rather than “assume a distance” — bollards beat guesses.
Piping: Above and Below Grade
Above grade: rigid steel at exposed stubs. Avoid flexible “soft” above grade. Local amendments apply.
Below grade: depth and separation are jurisdictional — commonly 18” cover for PE in many California jurisdictions. Use tracer wire with non-metallic gas piping (18 AWG typical) and warning tape in the trench. Confirm with your AHJ.
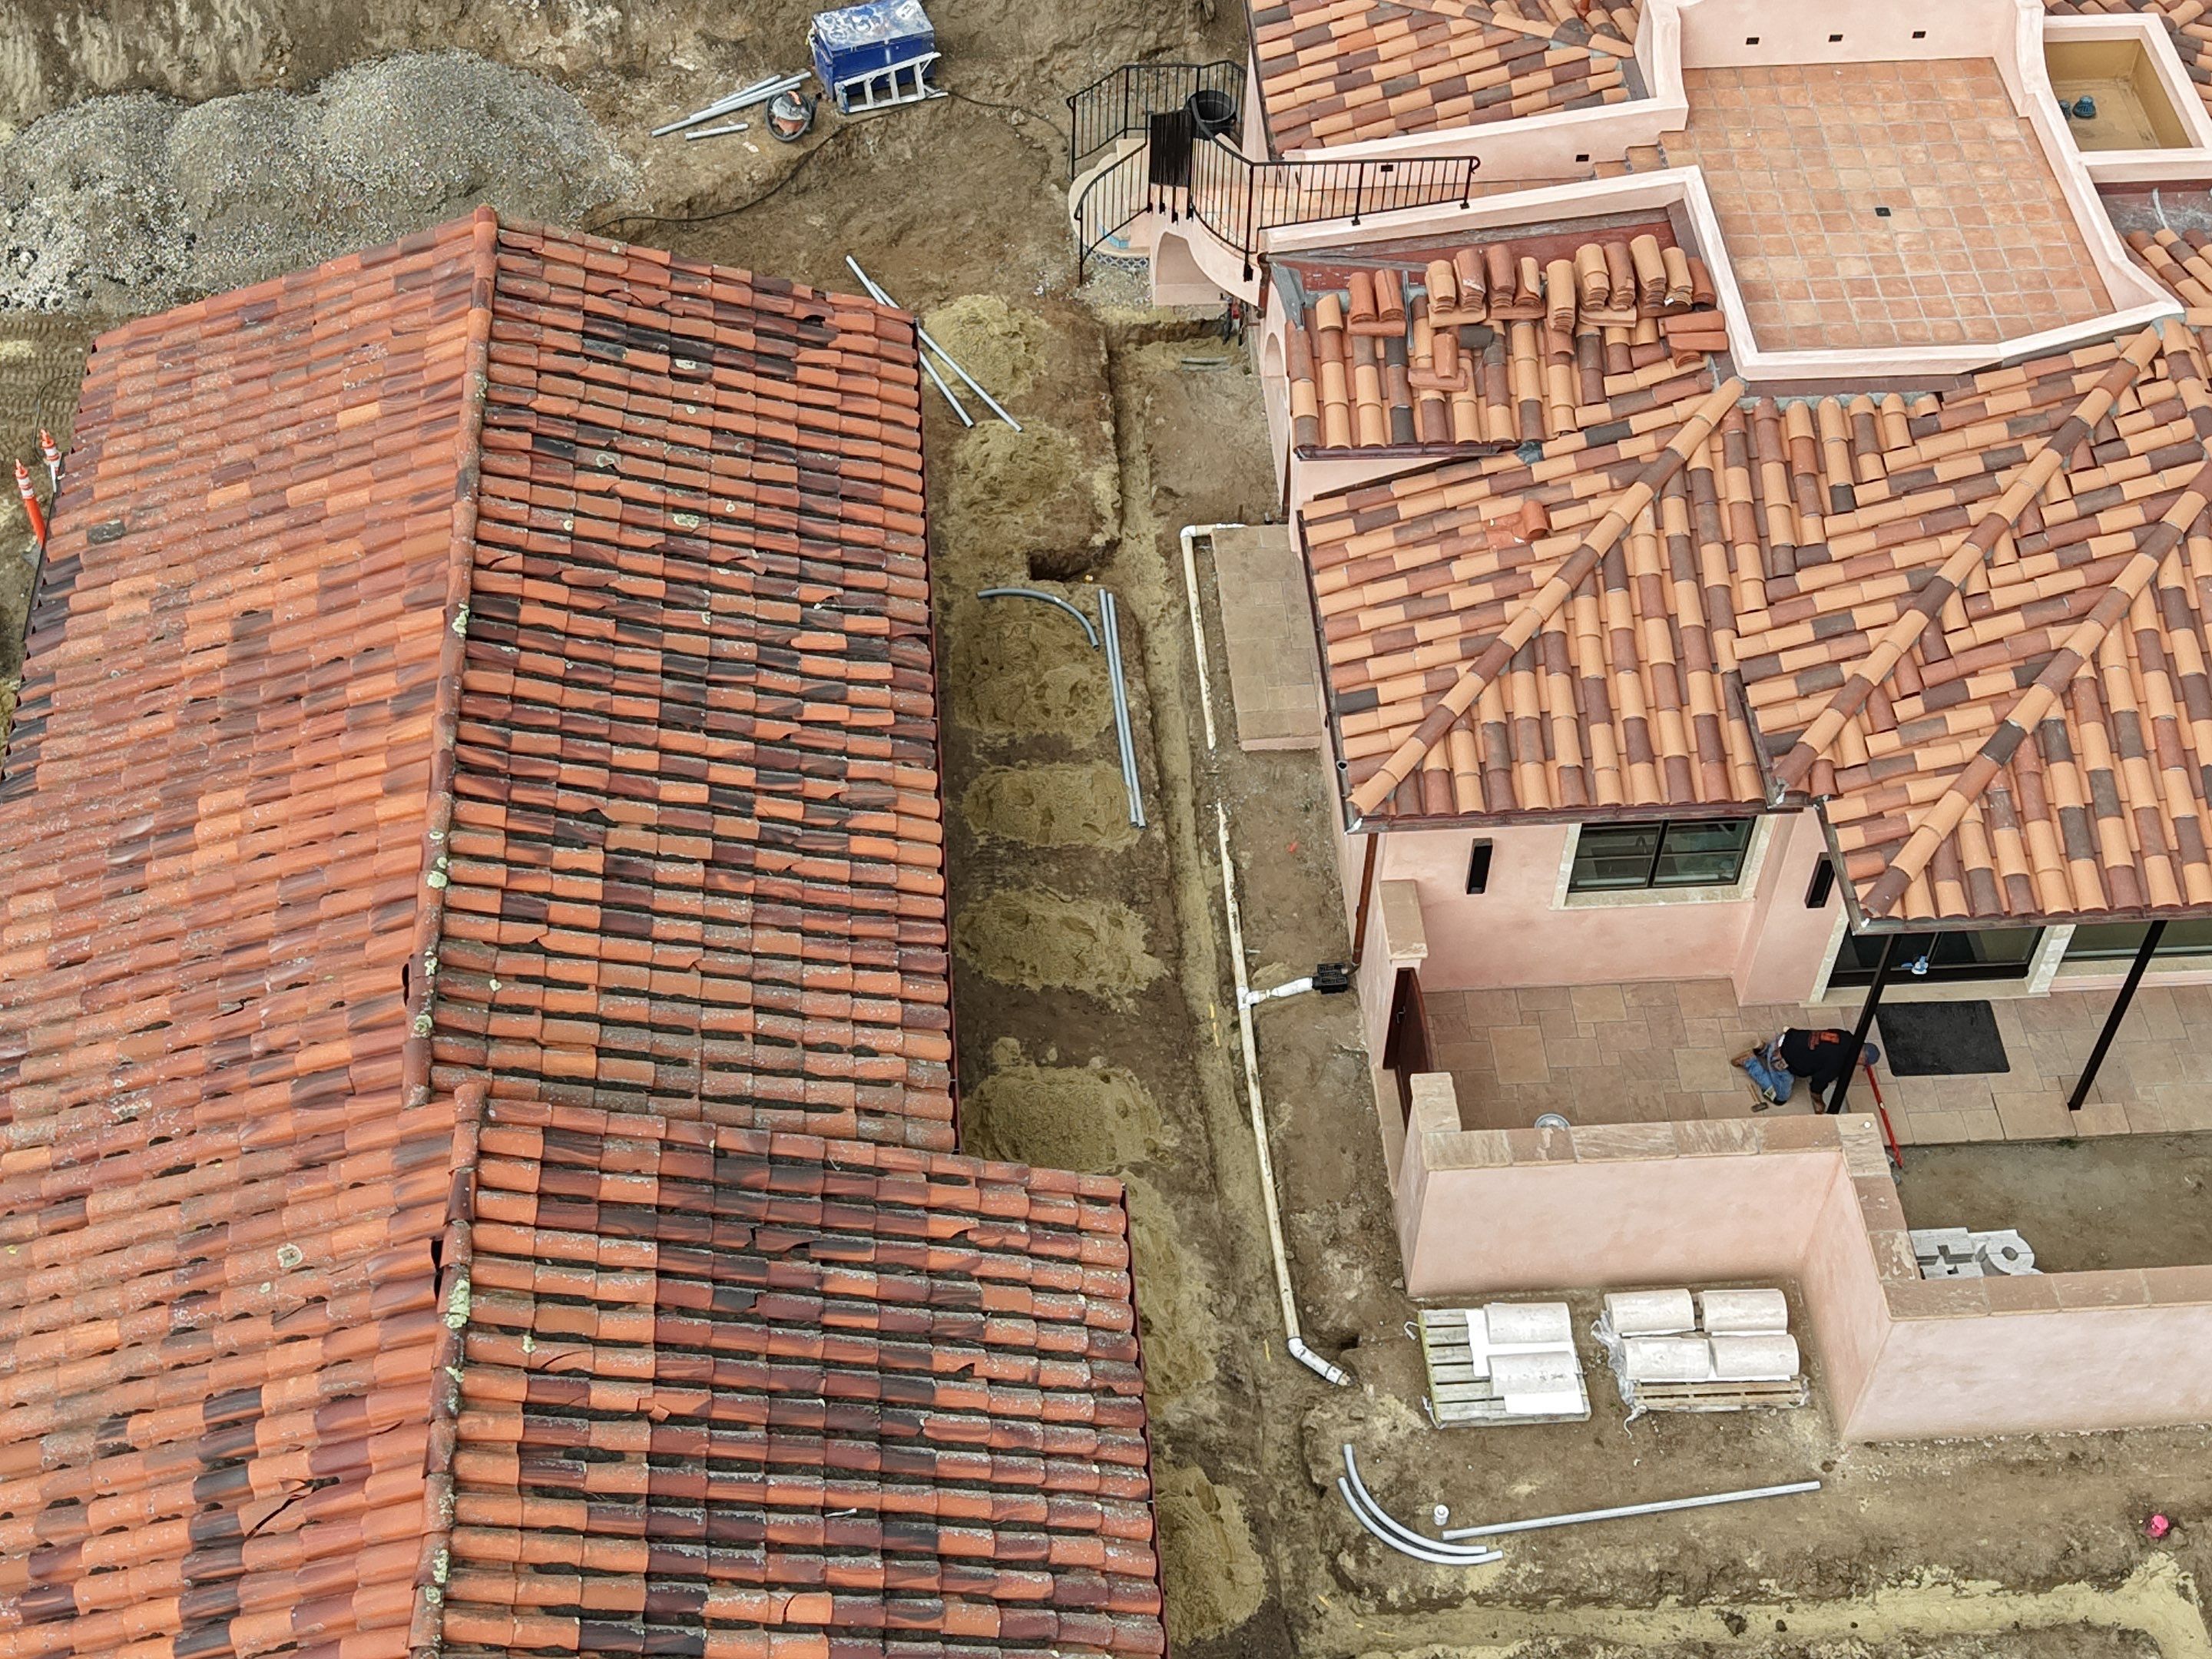
Yard Piping Layout
Run one trench, branching to ADU, main house, and generator. T-up in rigid stubs where you emerge.
- Label each branch at the riser and at the T
- Cap and protect stubs while the site is active
- At each end destination, step 2 psig to low pressure at the appliance manifold
- Vent regulators to safe exterior, away from ignition sources and openings
Testing and Inspection
House/yard line test (CPC guidance): not less than 1.5x max working pressure, but not less than 10 psi for 15 minutes on an appropriate gauge. Some jurisdictions require 10 psi for 30 minutes for exterior PE yard piping. Check your inspector’s card.
Sequence: trench, bed the pipe (washed plaster sand), pressure test and pass inspection, shade/backfill with sand, then final backfill with tracer wire and caution tape. Keep photos and gauge shots in the log.
Utility Tie-Ins and Meter Set
The city/utility brings service from the street main to the meter and sets the meter. We provide the private-property trench and houseline to the meter location. The utility connects the meter to our houseline after inspections are green.
Removing an Existing Meter
Schedule shutoff and disconnect with the utility. Once gas is off and the meter is removed, we demo the houseline side and scrap per spec. Keep the tickets.
Our Field SOP
- Plan — BTU schedule, pressure choice, pipe sizing, regulator locations
- Set meter location — utility diagram, bollards if near vehicles
- Trench — depth, bedding, tracer wire, warning tape per local spec
- Measure and document — trench lengths/volumes, drone photos, tagged records
- Sub packet — scope, BTU/pressure notes, takeoffs, photos, delivery windows
- Install and test — pressure test to the AHJ’s requirement
- Shade and backfill — plaster sand bedding, shade, backfill after green tag
- Utility — coordinate meter set and final tie-ins
Takeaway
Gas service is utility standards first, local code second, our sequence third. Get the meter in the right place, protect it, size the system off real loads, test to spec — and the rest is execution.