Building Tips
Batterboards and String Lines for Retaining Wall Layout
We start with a survey to establish coordinated reference points that give us both elevation and orientation for the build. Without survey data, there’s no way to verify that where we install is exactly the point called out on the plans. The survey gives us clear markers — stakes and darts with elevations attached — to coordinate layout for a given installation.
1. Start with the Survey
Our concrete crew used the survey-annotated plan set and the stakes marked on site to establish where the batterboards go in relation to those references. Once the batterboards are set, the string lines mark the exact outside face of every retaining wall. Skip this step and you’re guessing. With it, every line traces back to the engineer’s drawings.
2. What a Batterboard Is and How It’s Built
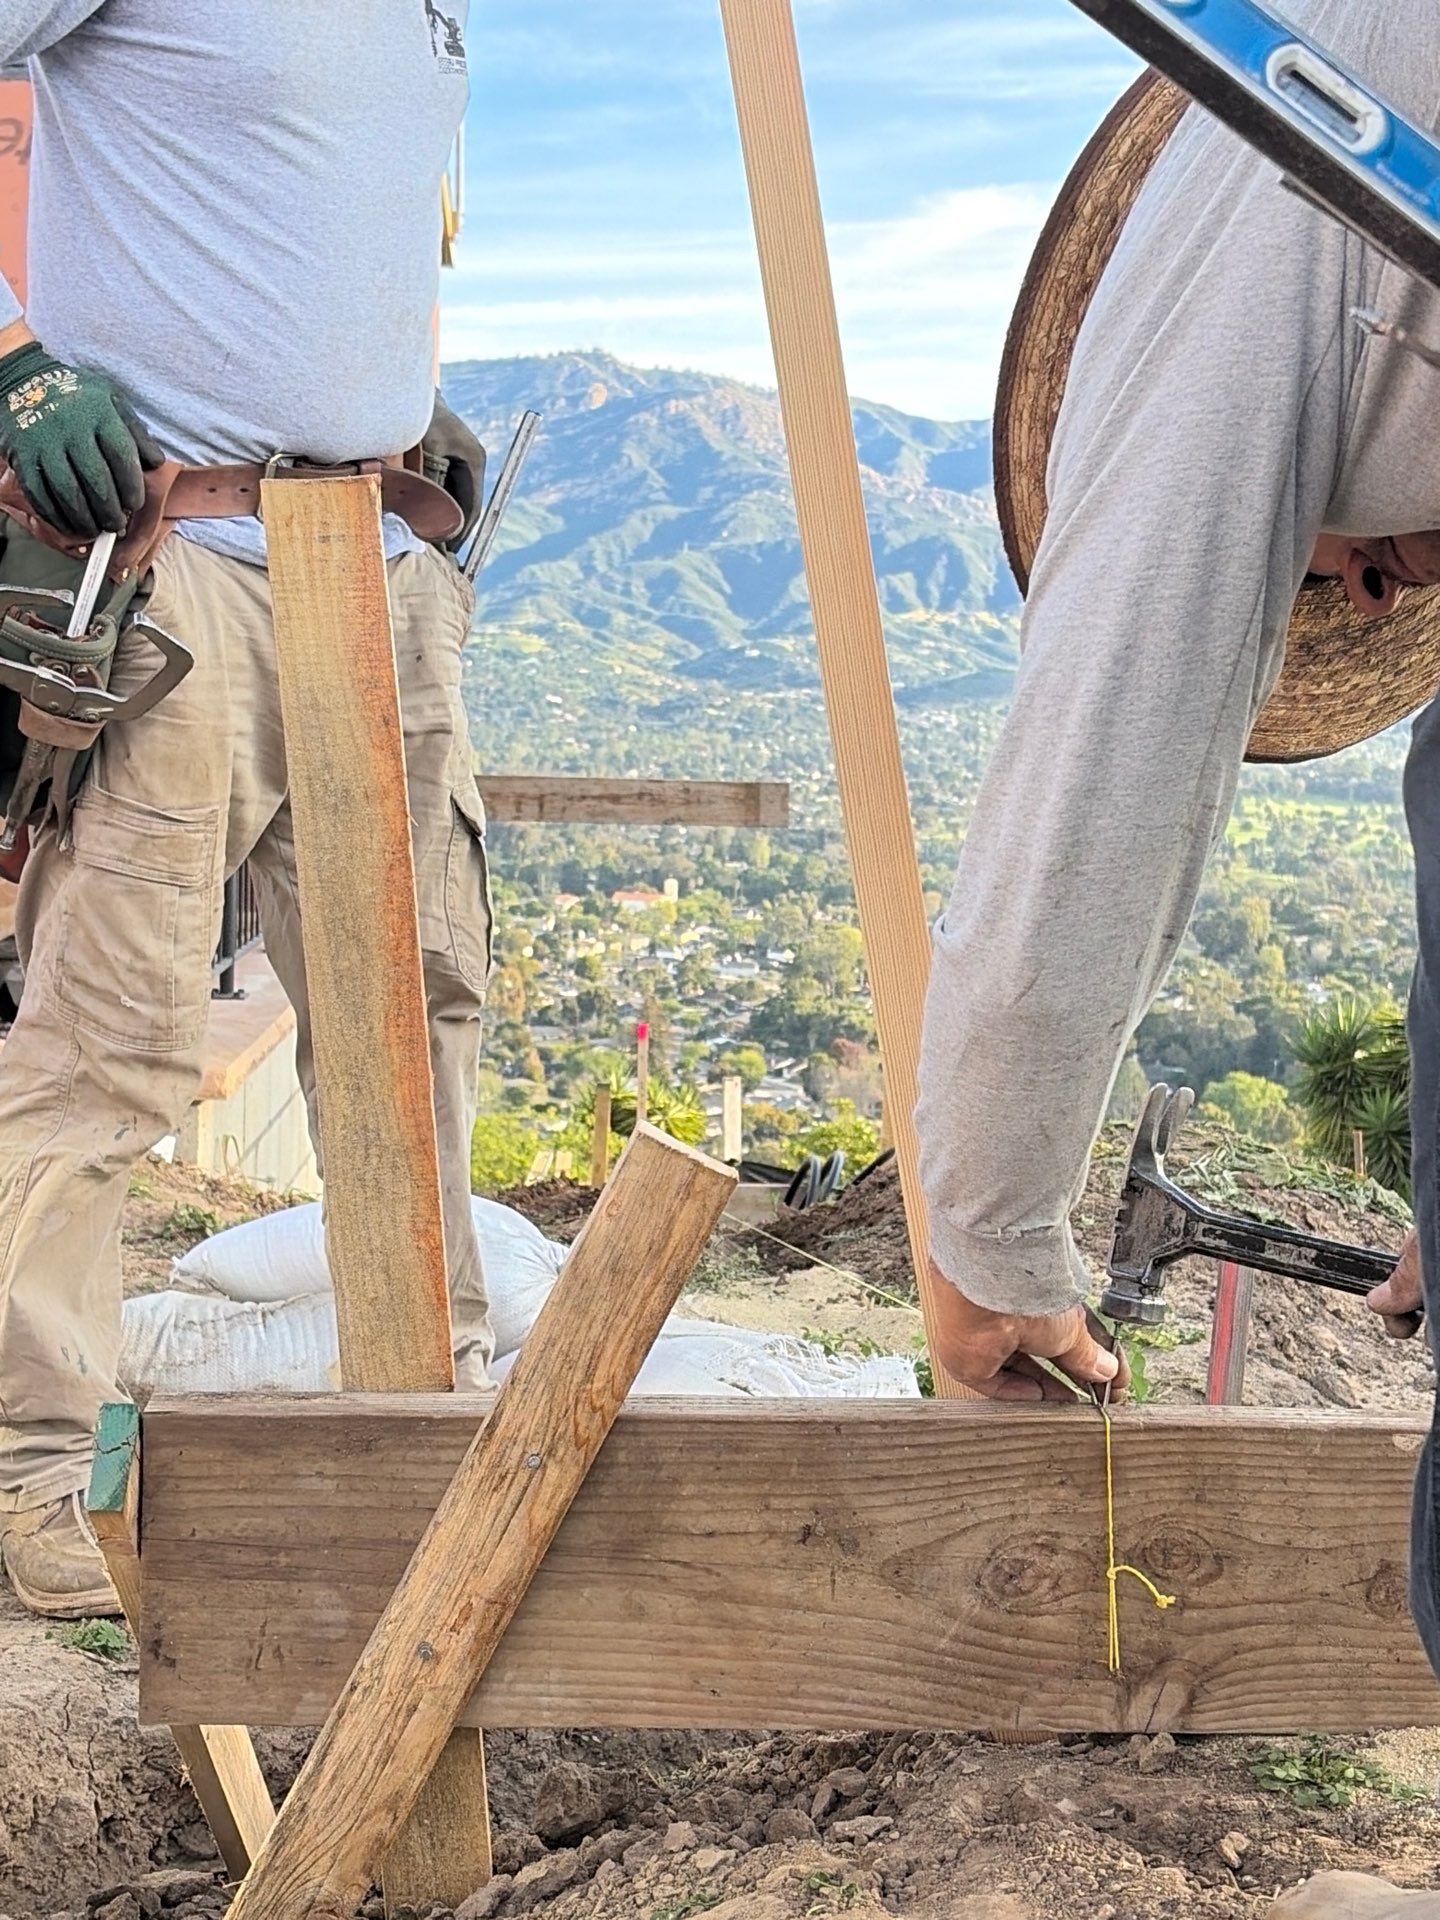
A batterboard is two stakes driven plumb into the ground — 4 or 5 foot stakes work for this application. A 2x4 or 2x6 is attached horizontally across the two stakes, set level and to a specific elevation height relative to the other reference points for layout. Diagonal braces are installed on both sides to cross-brace the batterboard so it doesn’t move once it’s set.
The height of that crosspiece matters. The crew sets it at the finish elevation of the retaining wall, but slightly higher than the exact mark — it’s easier to work back down to grade than to try to build up to it later. That small margin accounts for settling and gives the mason room to fine-tune during installation.
3. Running the First String Line
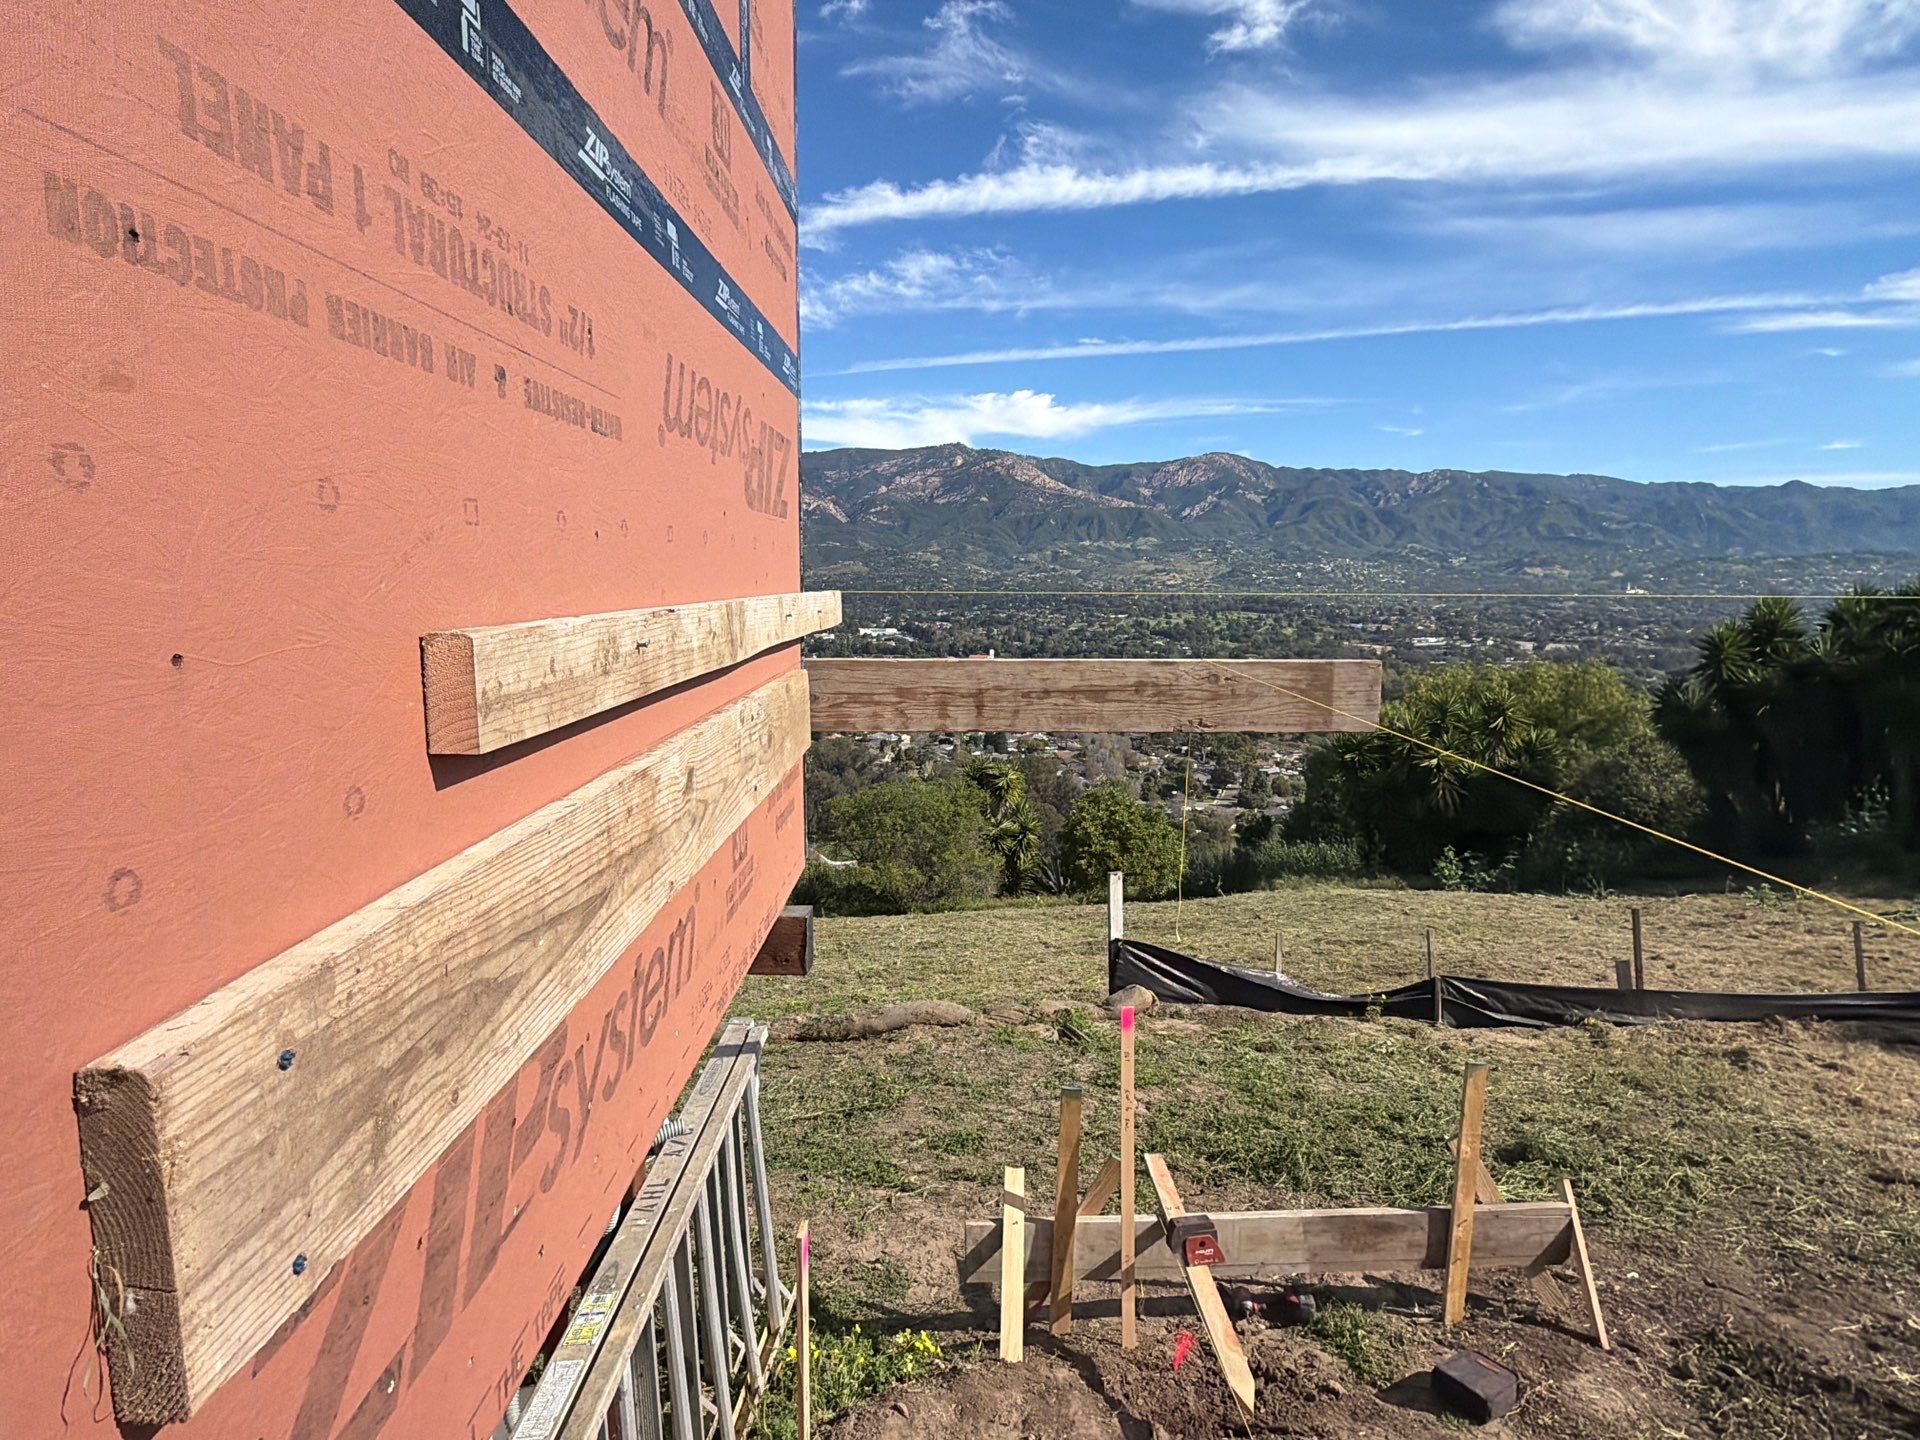
The first batterboard is installed at the location of the first survey point — typically the highest and most convenient stake available. The nail and string line on top of the crosspiece are set slightly above the finish height of the retaining wall. This is our coordinated point: the exact X, Y, and Z axis location for the start of layout.
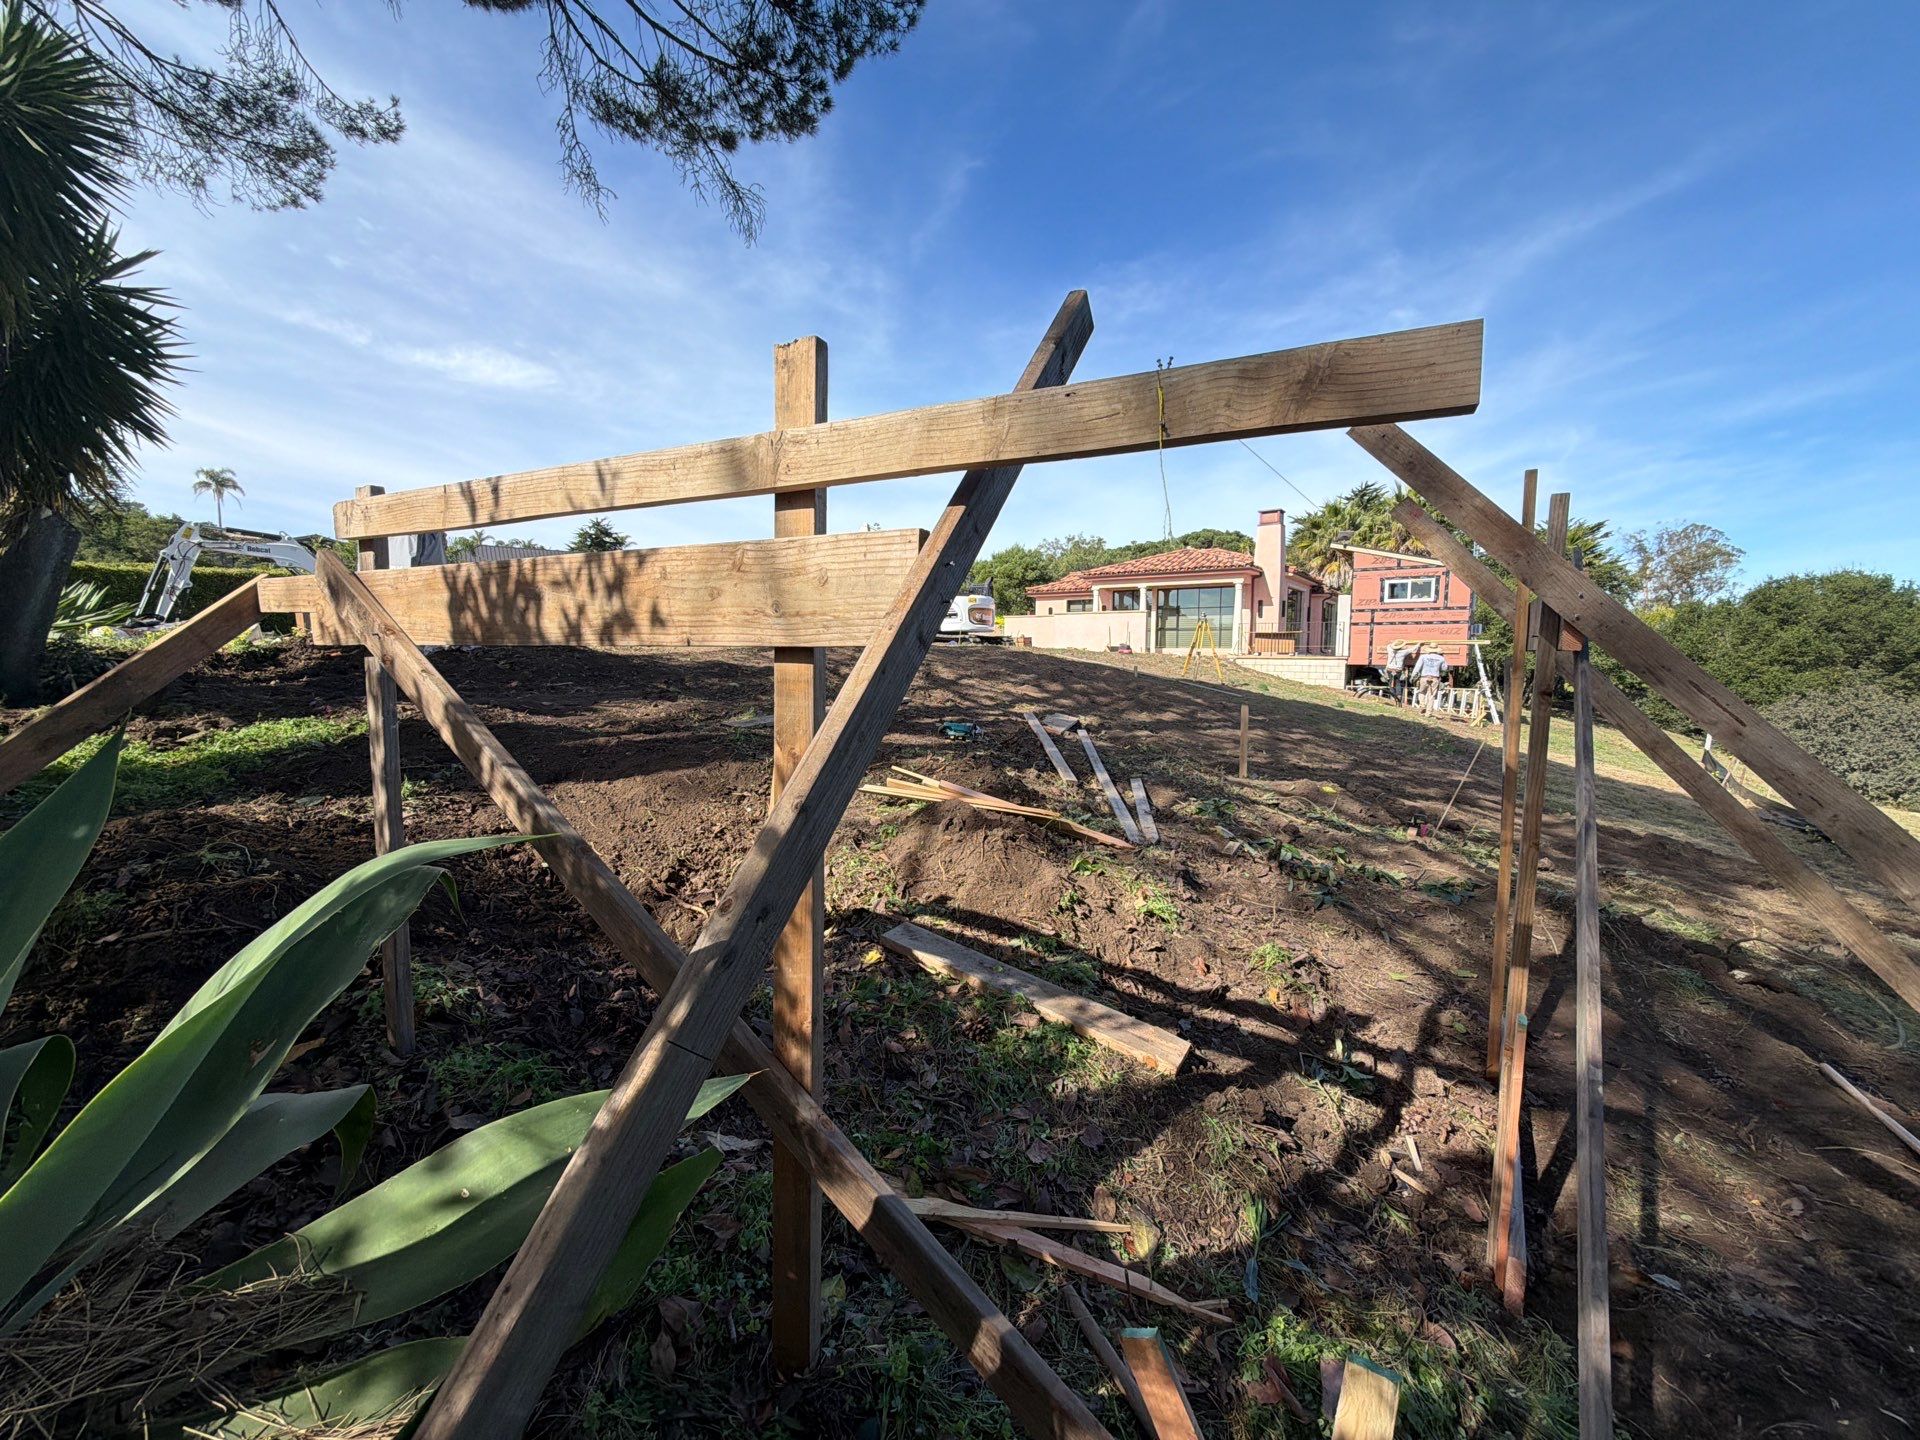
From here, a second batterboard is set on the lower hillside. This board is sloped because at this stage we only need the Y axis oriented — we want to confirm that the second batterboard is exactly the same distance from the existing structure as the first. That gives us a straight line to work off of.
4. Finding Plumb and Working Corner to Corner
With the straight reference established, a third batterboard is set at the appropriate finish elevation. A plumb bob is run down from batterboard three to batterboard two to find the Z axis coordinate. Now we have a straight and plumb reference line connecting our first perfect point to our second perfect point.
This process continues around in a circle — establishing reference points in each axis via batterboards, string lines, and survey stakes. Set one corner, use it to find the next, use that corner to find the one after it. When three string lines are set, measurements are taken to confirm everything is square and that the string line lengths for all three retaining walls are accurate and consistent.
5. Checking Square
Four string lines form a rectangle at the finish height and outside face of the retaining walls. The crew checks square using the 3-4-5 method at each corner — measure 3 feet along one string, 4 feet along the perpendicular, and the diagonal between those points must hit exactly 5 feet. If it doesn’t, the corner is adjusted until it does.
Beyond the corners, the total length of opposing string lines is measured to confirm they’re identical. A rectangle with equal opposite sides and square corners means the layout is true. Final measurements are taken back to the survey stakes to verify that the offsets called out by the survey match exactly what’s installed in the field. This is the last check before any digging starts — if something is off, this is where you catch it.
6. Clear After You Verify
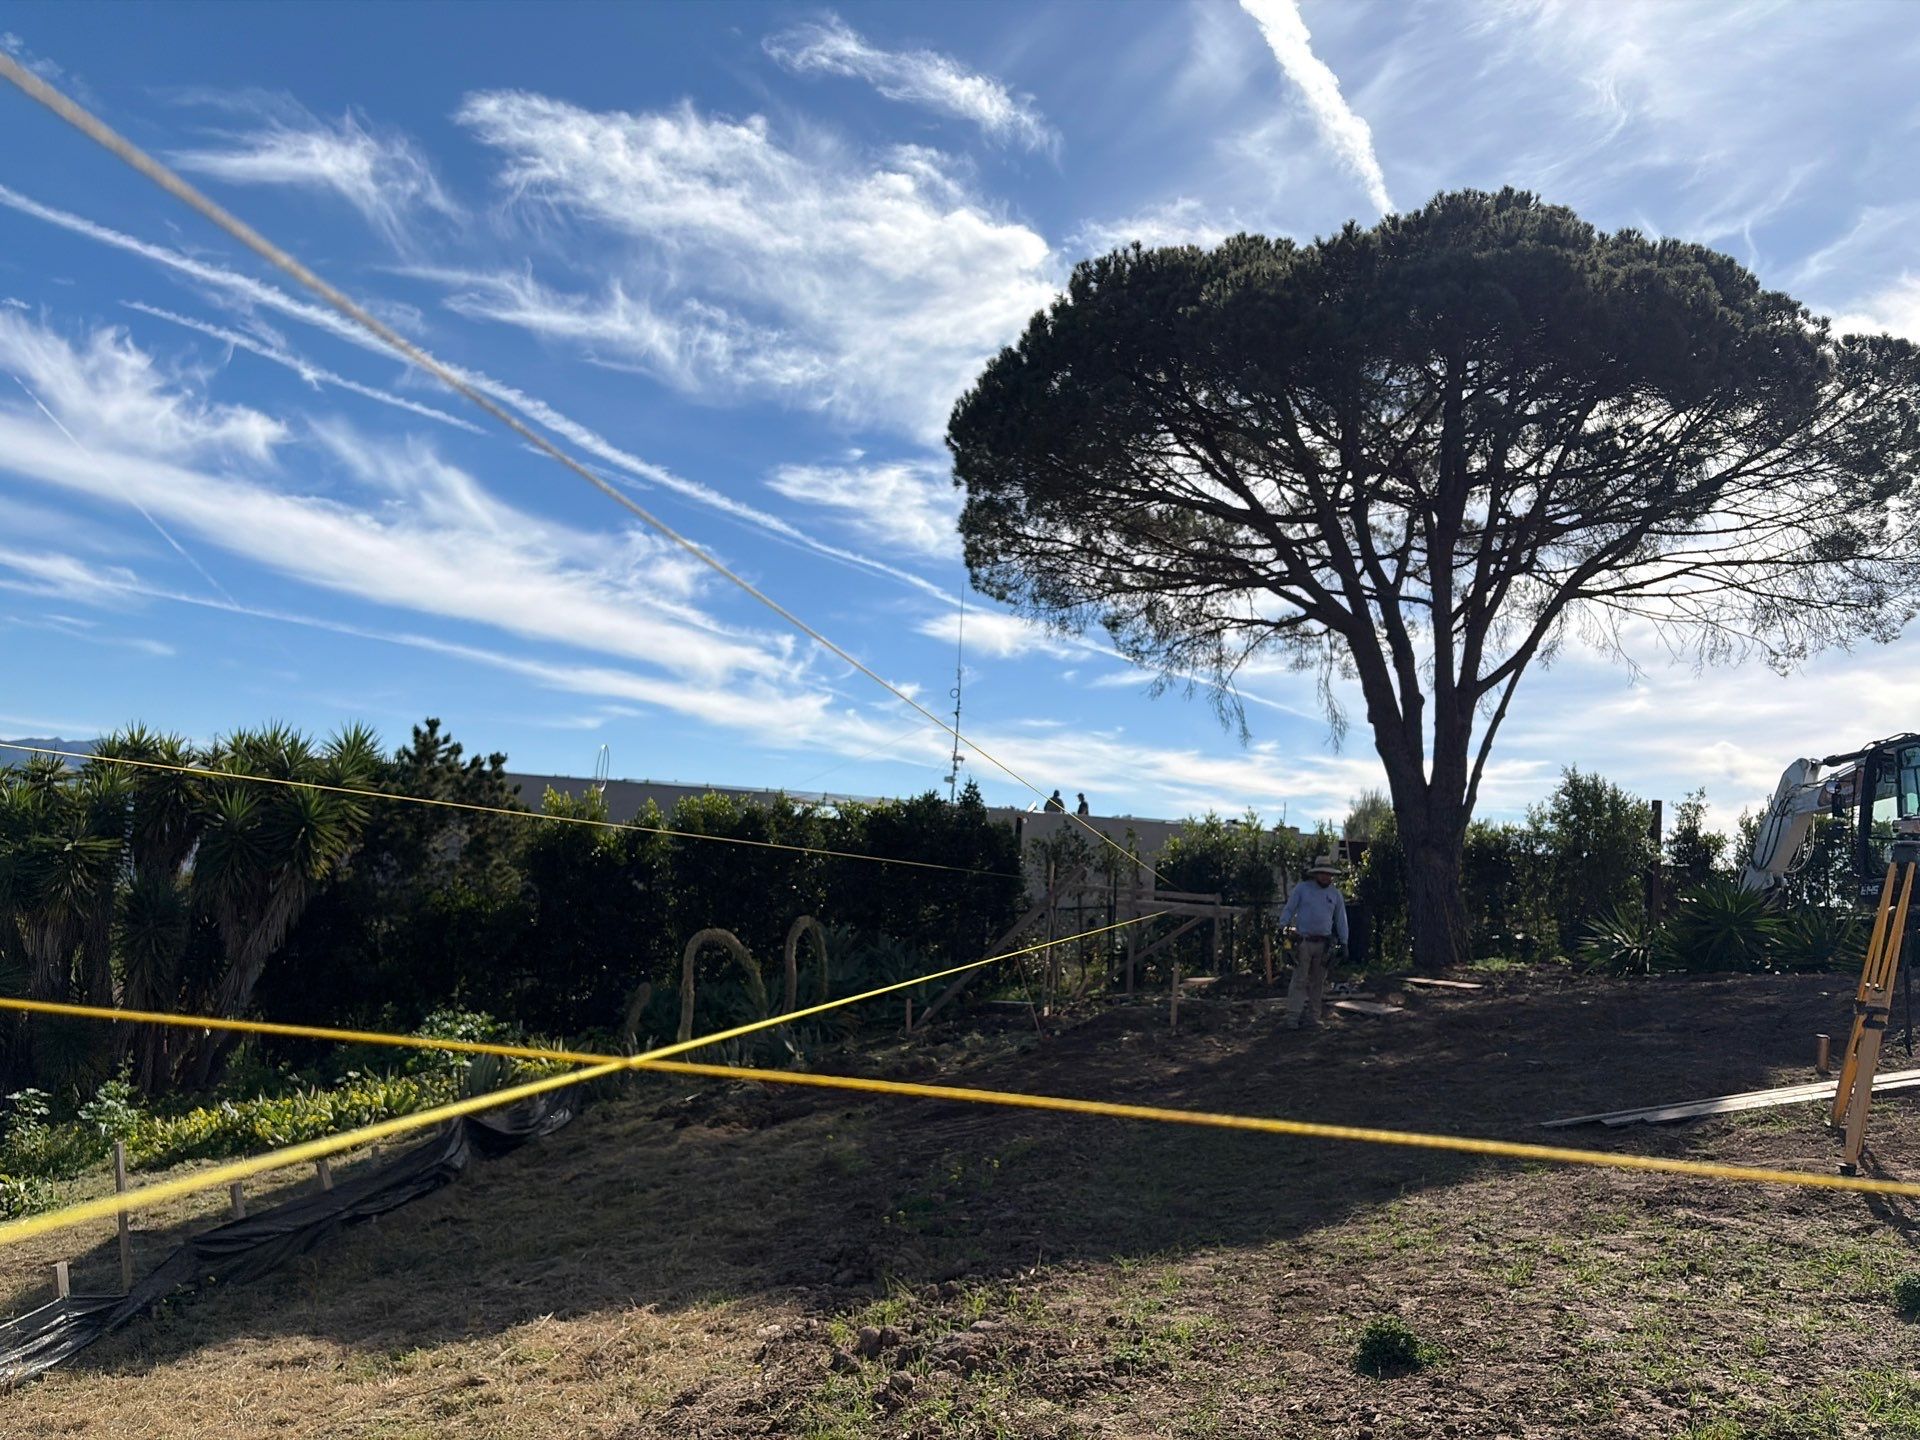
The retaining walls as drawn sit where existing landscape vegetation is planted. Rather than clearing everything upfront based on the plans alone, we verified with the layout exactly which plants needed to be removed — then demoed accordingly. An excavator pulled yucca plants in the wall path while a skid steer handled the remaining brush and debris.
Layout first, demo second. The string lines tell you precisely what’s in the way and what can stay. Removing vegetation before verifying the layout risks taking out plants that didn’t need to go — or missing ones that did.
Key Takeaways
- Layout starts with the survey — without coordinated reference points, there’s no way to verify what you install matches the plans.
- A batterboard is simple to build but must be braced and set to a precise elevation. Set string lines slightly above finish height — it’s easier to work down than up.
- The first string line establishes one axis. Each additional batterboard finds the next coordinate until every corner is referenced.
- Check square with the 3-4-5 method at every corner, verify opposing string line lengths match, and confirm offsets back to the survey stakes.
- Don’t clear or dig until the layout tells you exactly where the work goes.
- When the string lines are right, everything downstream — excavation, forming, the wall itself — has a verified reference to build from.